
Do you want to use Netcore Mailer to improve the email delivery of your WordPress site? In this article, you will learn about how you can use Netcore for sending WordPress emails using FluentSMTP’s Netcore Driver.
Configuring FluentSMTP for Netcore #
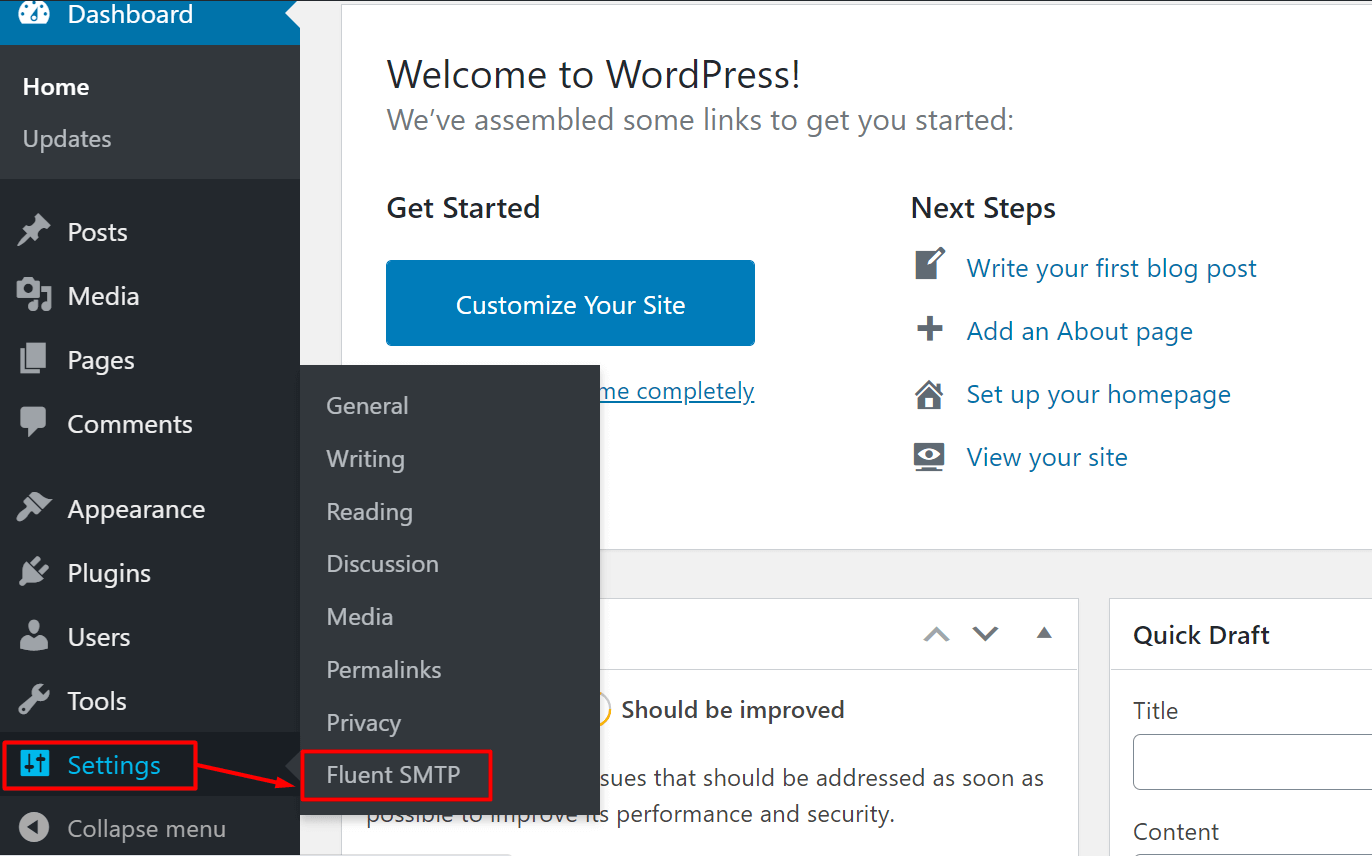
Log into your WordPress admin dashboard and hover over Settings and select FluentSMTP from the dropdown menu.
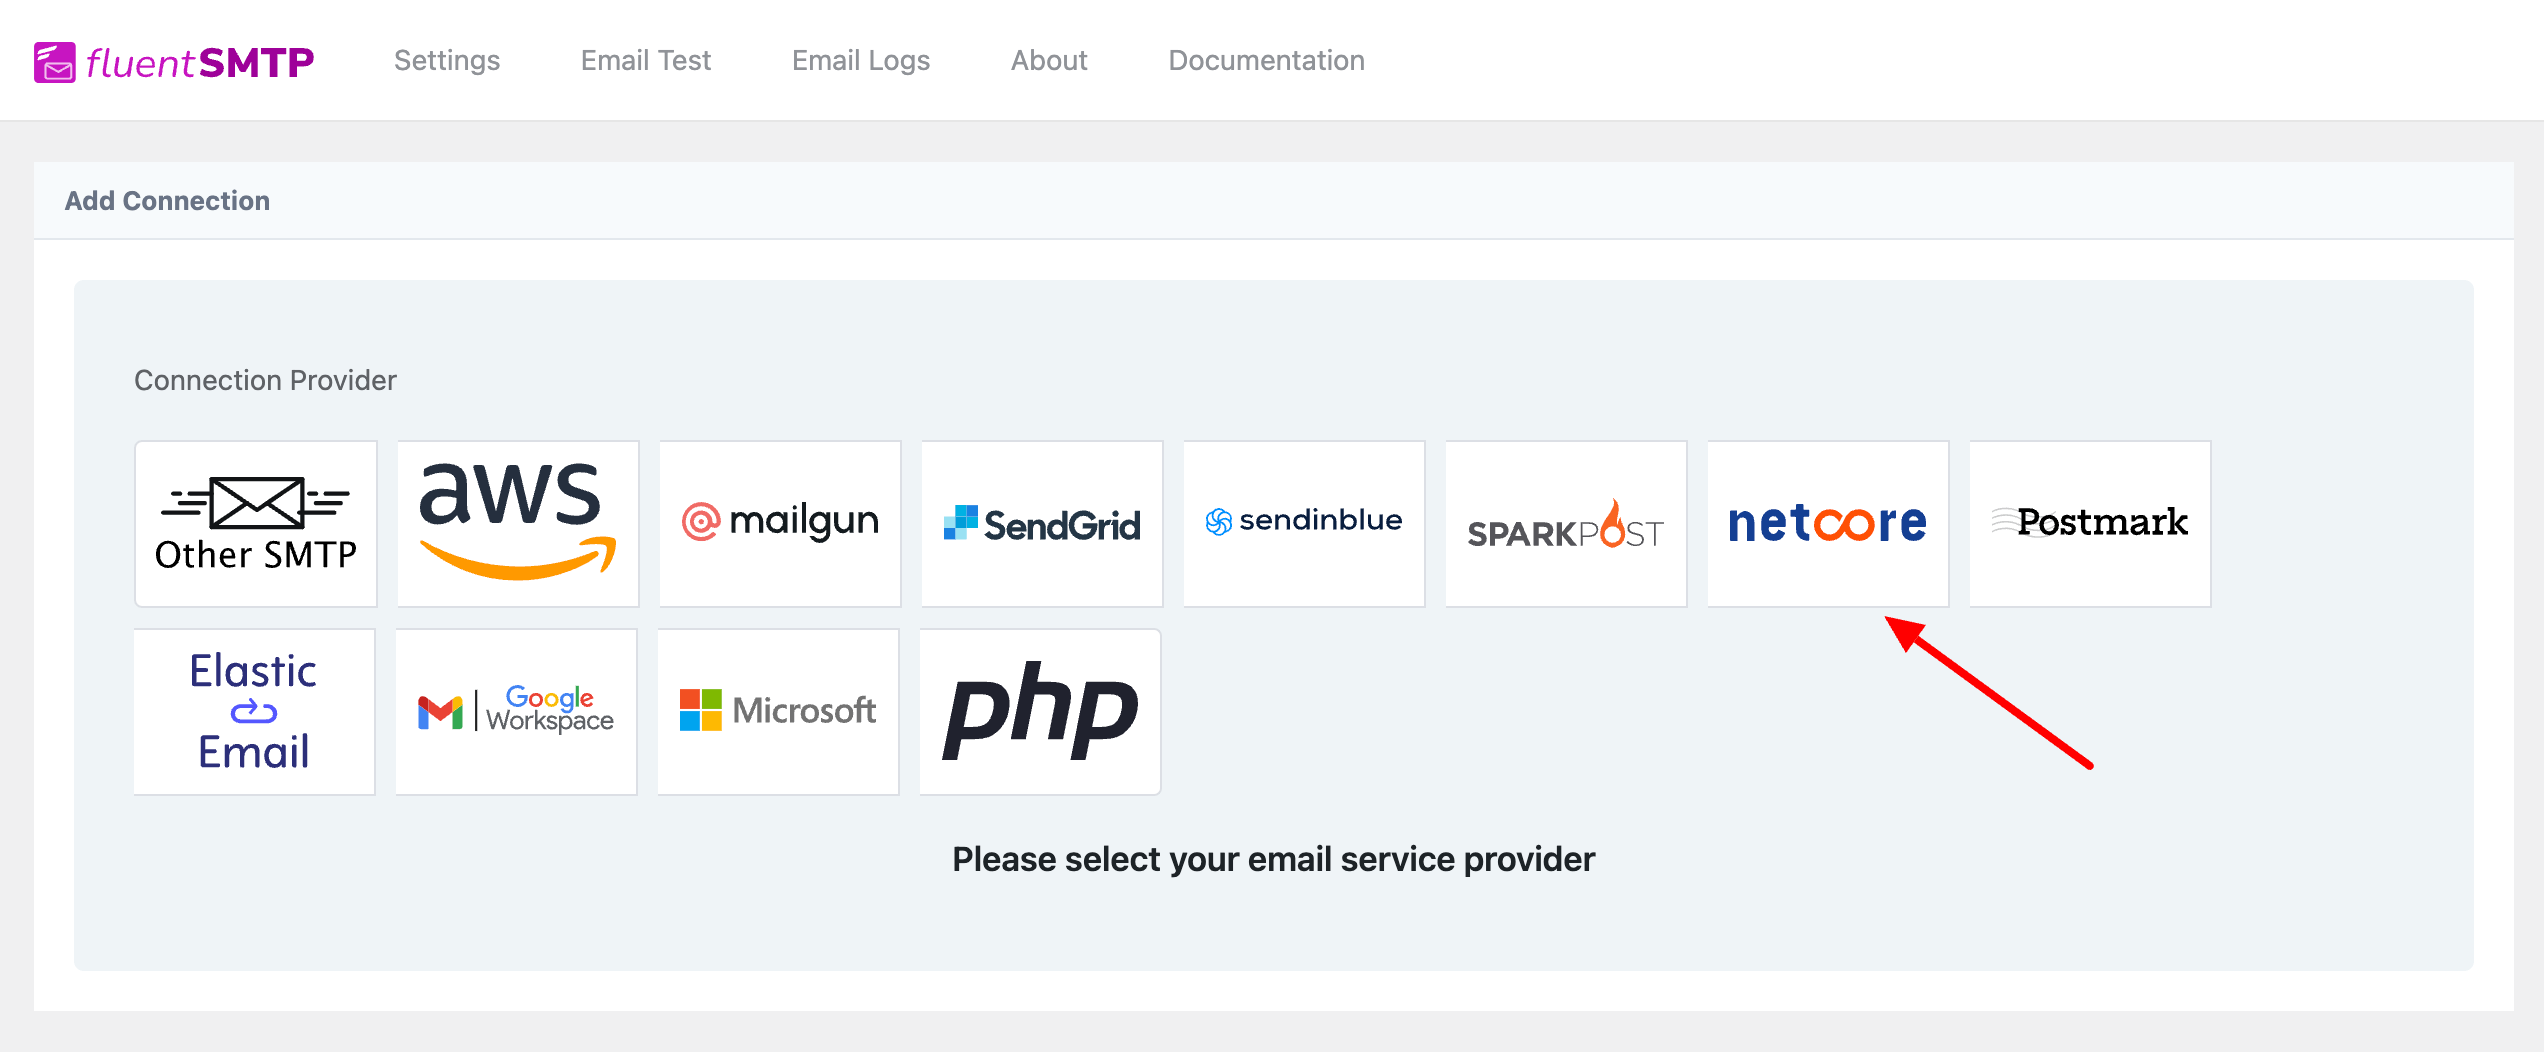
If this is the first time you are using FluentSMTP and haven’t set up any connection yet, you will see the list of available Mailers to configure, as we will work with Netcore, select Netcore from the list.
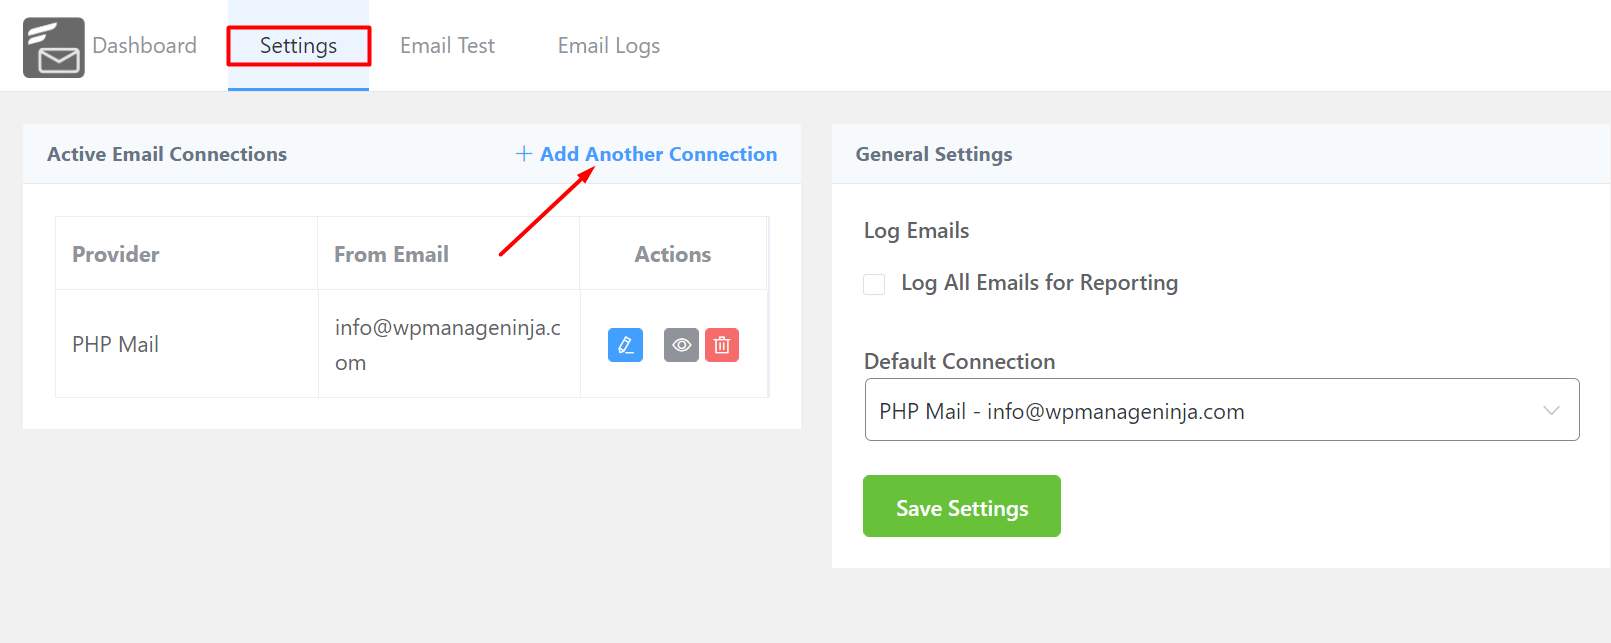
If you already have one or multiple SMTP driver setups and now you want to add Netcore also, go to the Settings Tab of FluentSMTP and select Add New Connection. Now again all the available drivers will appear from where you need to select Netcore.
Sender Settings #
Now we will configure the sender details. Fill up the “From Email” and “From Name” from the sender settings
From Email: The “From Email” should be the email you verified with Netcore. Check the box to set the return path to match the from. The Return Path indicates where non-delivery receipts or bounce messages are to be sent. If unchecked, bounce messages will be lost. With this enabled,
you’ll be emailed using “From Email” if any messages bounce as a result of issues with the recipient’s email.
From Name: From name can be anything you want. You can use a combination of your name and company name. For example, I would choose something like “Jafor From WPManageNinja” where Jafor is the name and WPManageNinja is the company. The API key will be provided by Netcore.
Get Netcore API Key #
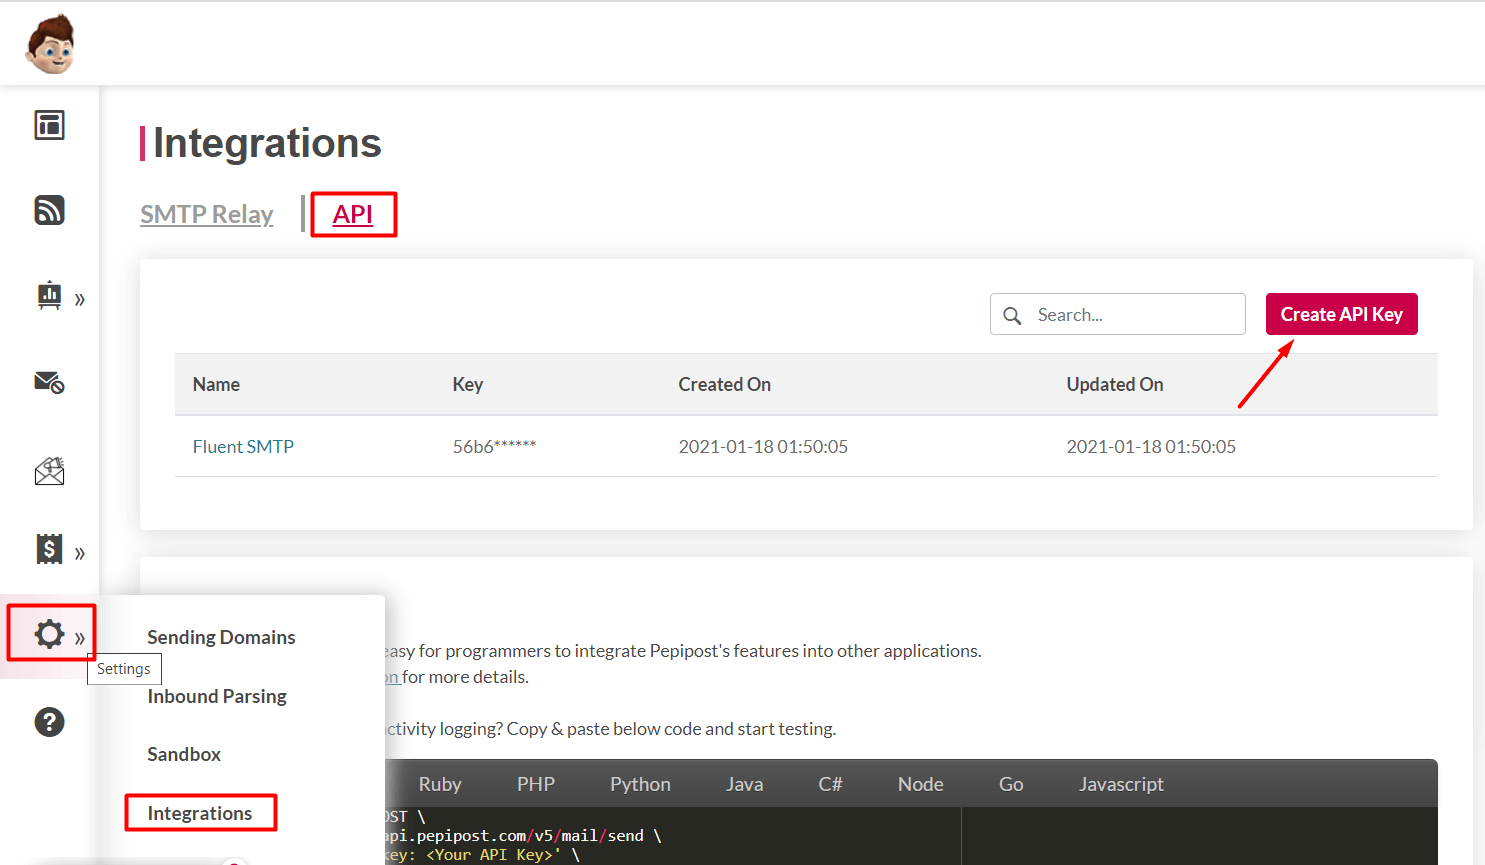
Log into your Netcore account and click on Settings and choose Integrations. Now select API Tab. Copy the API Key from here and paste it into the FluentSMTP Private API Key filed of MailGun configuration.
After getting the Netcore API key, go back to FluentSMTP’s Netcore configuration panel and enter the API key. Once done, click on Save Connection Settings, and your Netcore Driver is ready to send emails from your WordPress site.


HI
I tried the email test after i’ve added the api key and saved connection but it the test mail was saying “invalid api_key”.
what do i do now?
Hi
Which option is better for sending a lot of emails with pepipost?
API or smtp
both works but API is faster and reliable.
Is there any way to add more than 1 SMTP service inside of the fluent SMTP plugin?
When I add the amazon ses after that pepipost, it’s always changing the current one with the last one. Update automatically.
Hey Eric, it shouldn’t work like that. You can use multiple SMTP at once. Please submit a support ticket and our technical experts will look into your issue.
Thanks for reply, do you know where i can submit ticket?
Here’s the link to our support: https://wpmanageninja.com/support-tickets/