
Install and Activate FluentSMTP
FluentSMTP takes over wp_mail and sends through an email service you connect. Until you add a connection, WordPress still uses whatever your host left behind, which is why contact form and password-reset mail often never arrives.
You need:
- WordPress 6.5 or later
- PHP 7.4 or later
Install from the dashboard
- In WordPress, go to Plugins → Add Plugin.
- Search for
fluent smtp. - Find FluentSMTP - WP SMTP Plugin by WPManageNinja.
- Click Install Now, then Activate.
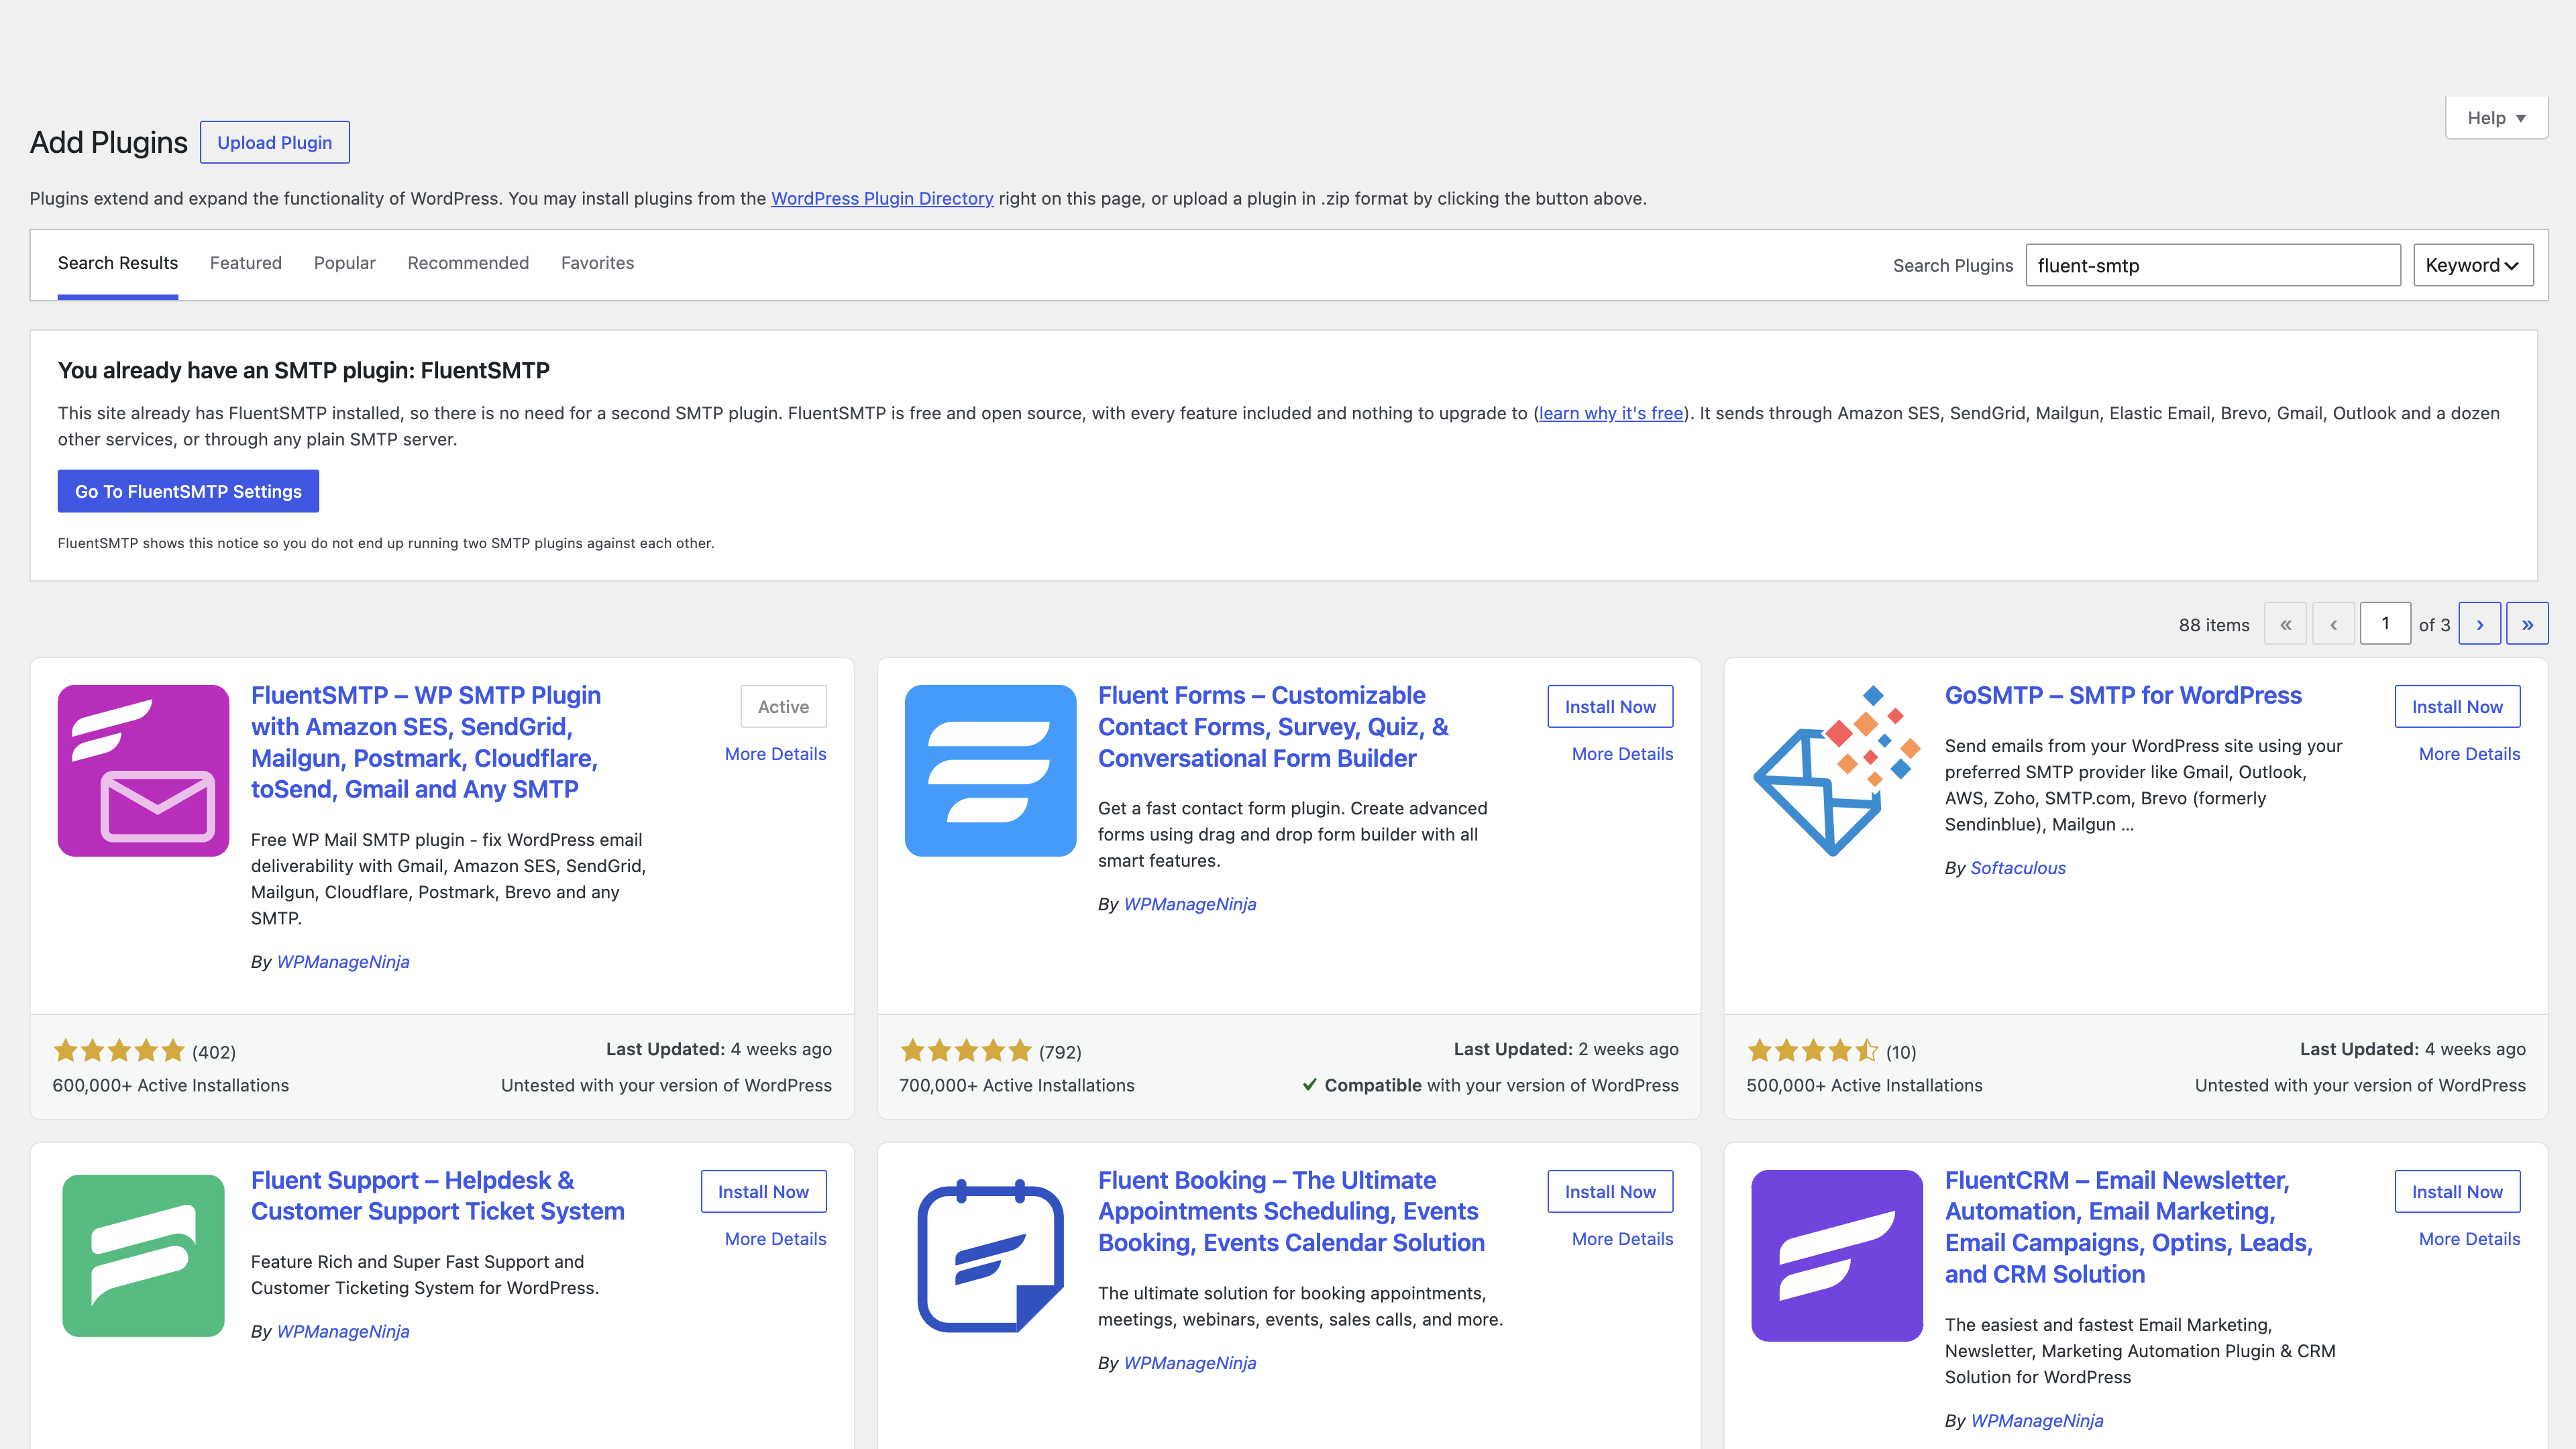
If another SMTP plugin is already active, WordPress will tell you. FluentSMTP should be the only plugin sending mail. Deactivate the other SMTP plugin first, or you will get double-sending and confusing logs.
If FluentSMTP is already active and you search for another SMTP plugin, FluentSMTP shows a notice: You already have an SMTP plugin. That is the plugin protecting you from installing a second mailer. Go to its settings instead.
After activation, go to Settings → FluentSMTP. That is the plugin screen. It is not a top-level menu.
Install from a zip
Use this if you cannot reach wordpress.org from the site, or you are installing a specific build.
- Download the zip from wordpress.org/plugins/fluent-smtp.
- Go to Plugins → Add Plugin → Upload Plugin.
- Choose the zip, install, then activate.
The plugin then appears under Settings → FluentSMTP.
What you should see next
On a site with no connection yet, FluentSMTP opens a first-run wizard: pick a provider, fill the form, save. On a site that already has a connection, you get the dashboard.
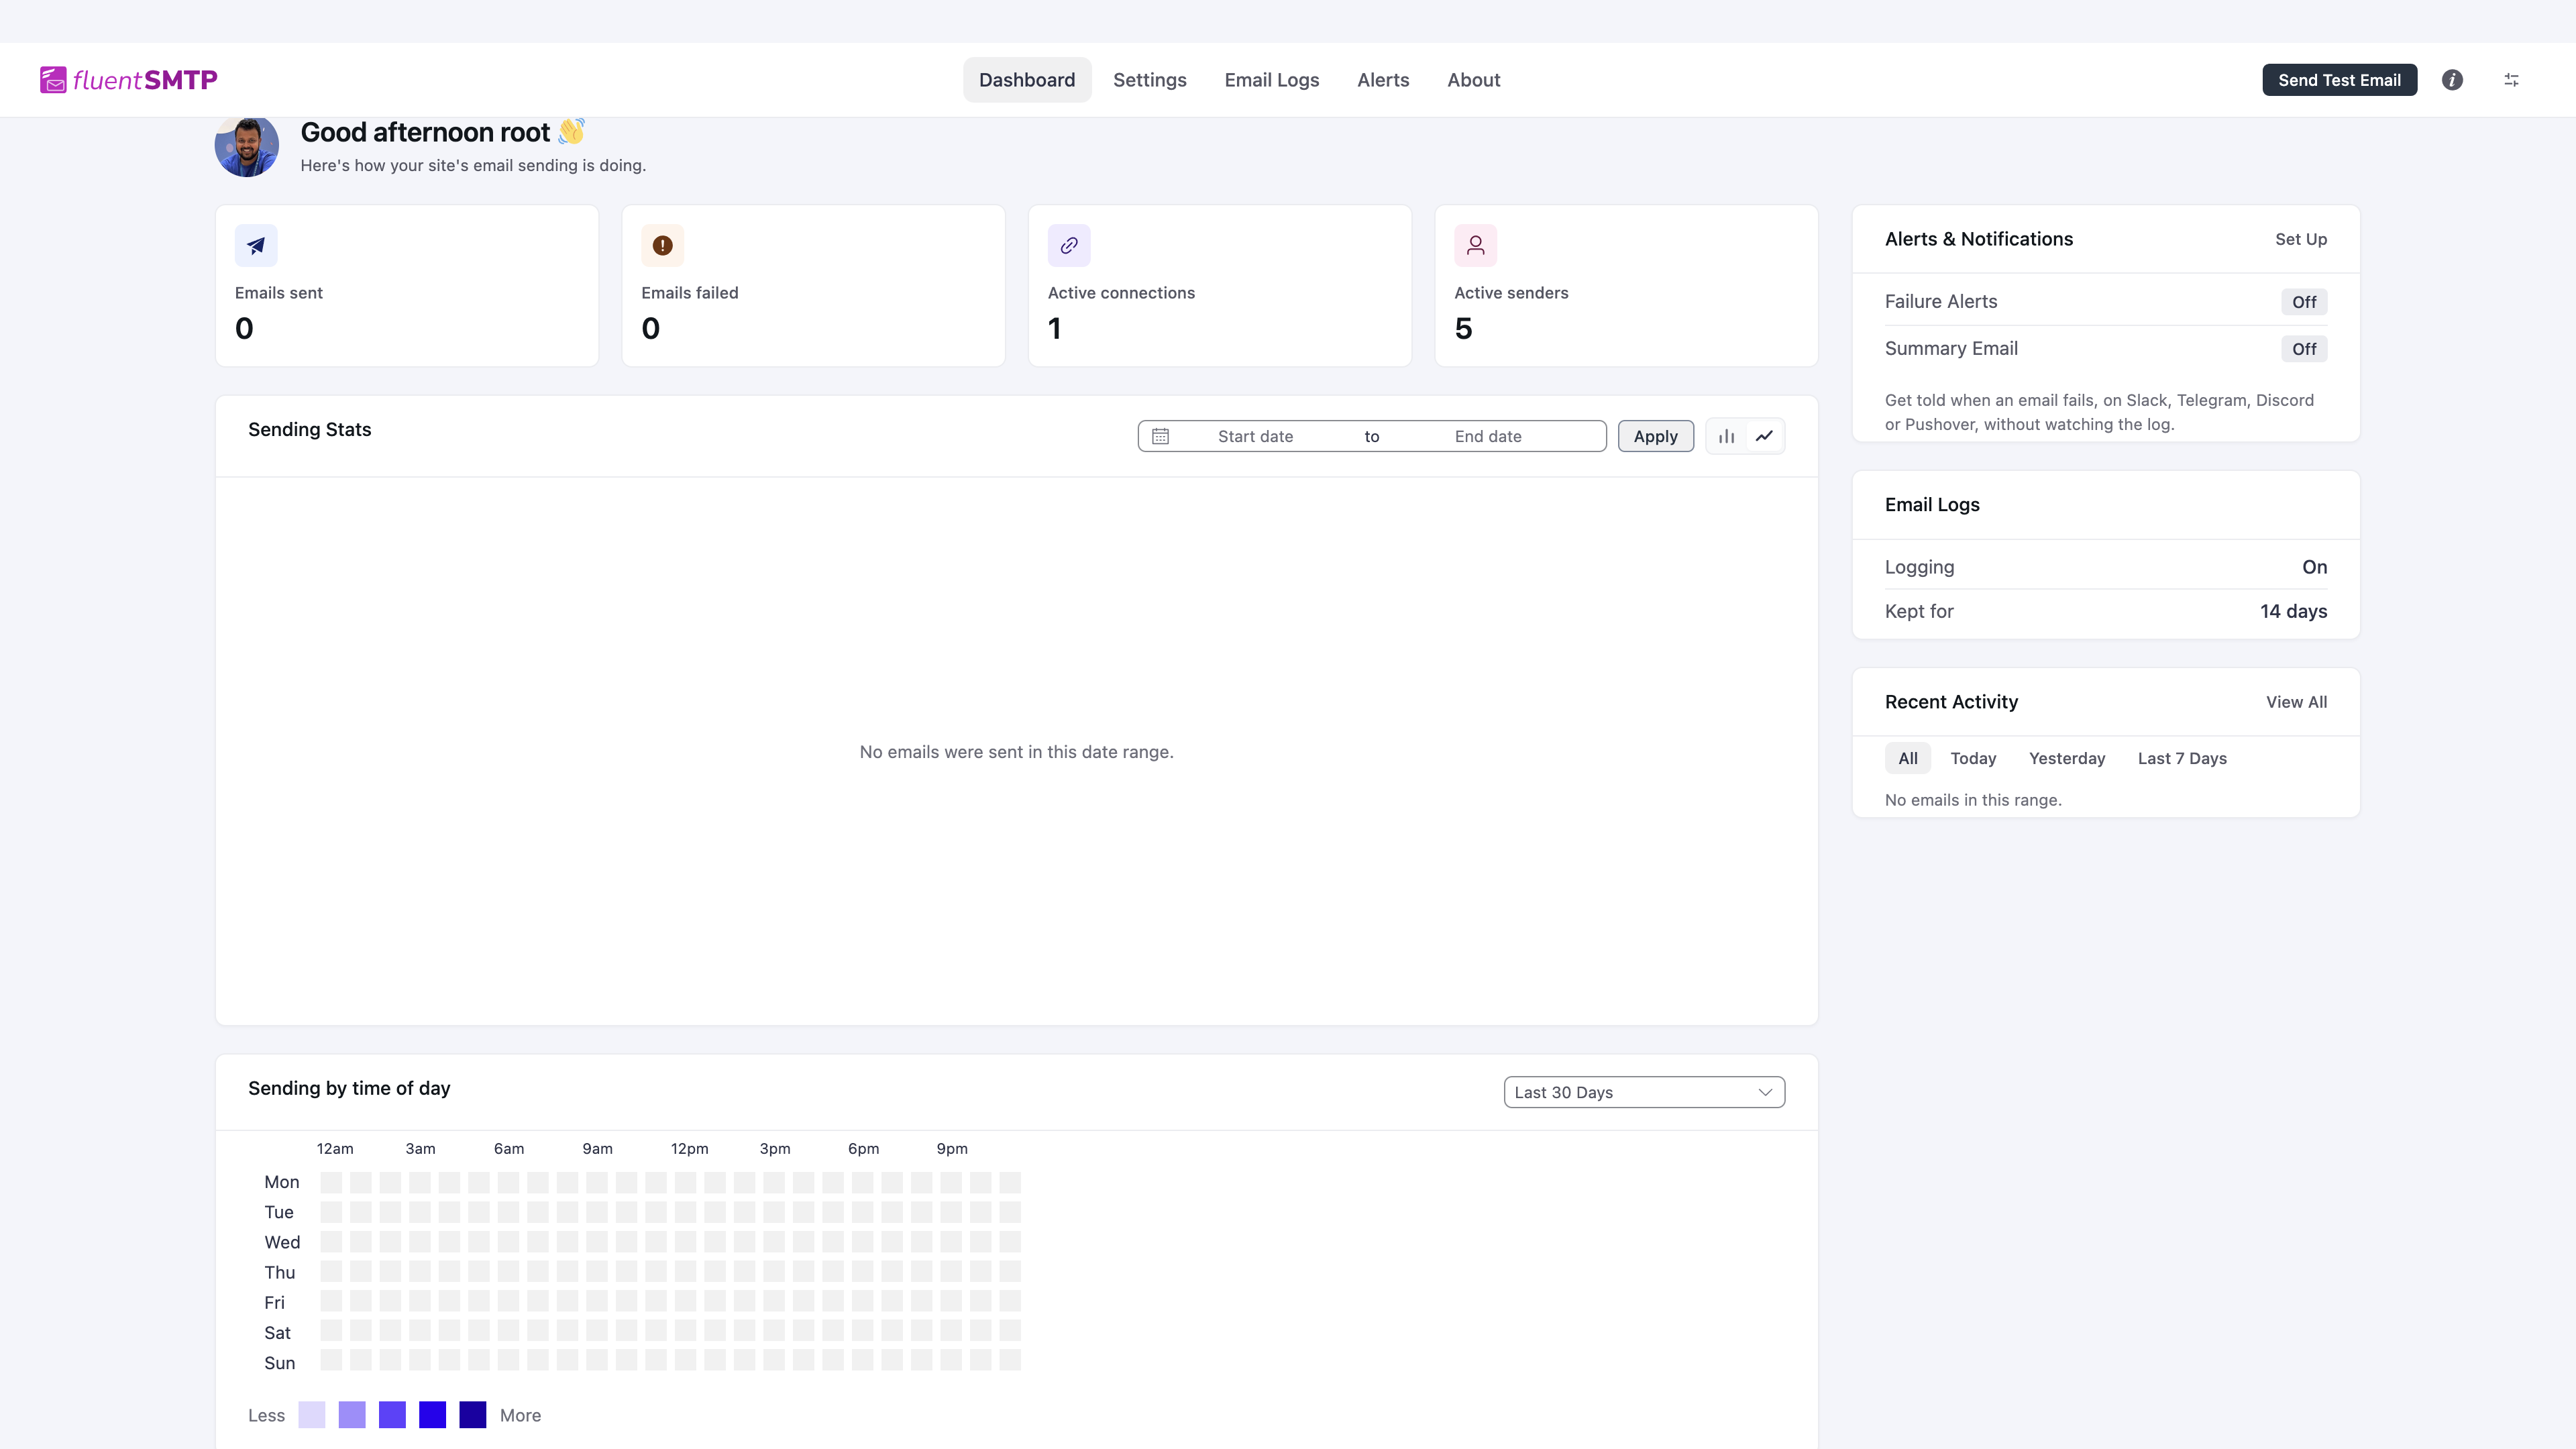
Next: choose an email service and save a connection. Then send a test from Send Test Email in the top bar.