

How to Setup Mailgun for WordPress Email Sending


MailGun offers one of the most dependable and efficient email services in the world. Although it was primarily designed for developers, non-developers can also make use of this service as it can help in transactional email delivery.
We’ve already explained why WordPress isn’t suitable for email sending and why you should use a good transactional email service for WordPress. Since Mailgun is a fantastic choice to explore in this case, you might be interested in setting up MailGun for WordPress email sending.
That’s why we’ll explain the easiest way of configuring Mailgun for WordPress email sending in this article. You will learn how to register an account, modify the settings for your domain, and connect Mailgun with your WordPress website.
Let’s begin!
What is Mailgun?
MailGun is one of the best transactional email API services in the world. It is primarily designed for developers however, non-developers can utilize their service without difficulty. It has features like enhanced deliverability, spam protection, and comprehensive email open-and-click tracking.
MailGun offers a free plan that allows you to send up to 10,000 emails each month. Sending the next 500000 emails is very economical as well. As a result, many small businesses and WordPress developers choose Mailgun for sending WordPress emails.
A few notable features of Mailgun are:
- Ability to deliver emails using HTTP API or SMTP
- Free email forwarding and routing to additional mailboxes. In Mailgun’s dashboard, you may configure routes. Excellent for non-developers!
- Better delivery rates
- Easy-to-understand reporting to determine the exact number of emails sent
- Real-time, searchable logs
Configuring Mailgun for sending WordPress emails
You’ll need to follow two major steps to perform the complete setup. The first step is creating the Mailgun account and the second is to set up an SMTP plugin to send emails from your WordPress website.
We’ll show you both and explain the easiest way to finish the job. Let’s start with how to create and set up a Mailgun account.
Sign up for a Mailgun account
The first thing you need to do is create a Mailgun account. Click on the signup button and fill out the necessary boxes. You have the option of either providing your card information or not.
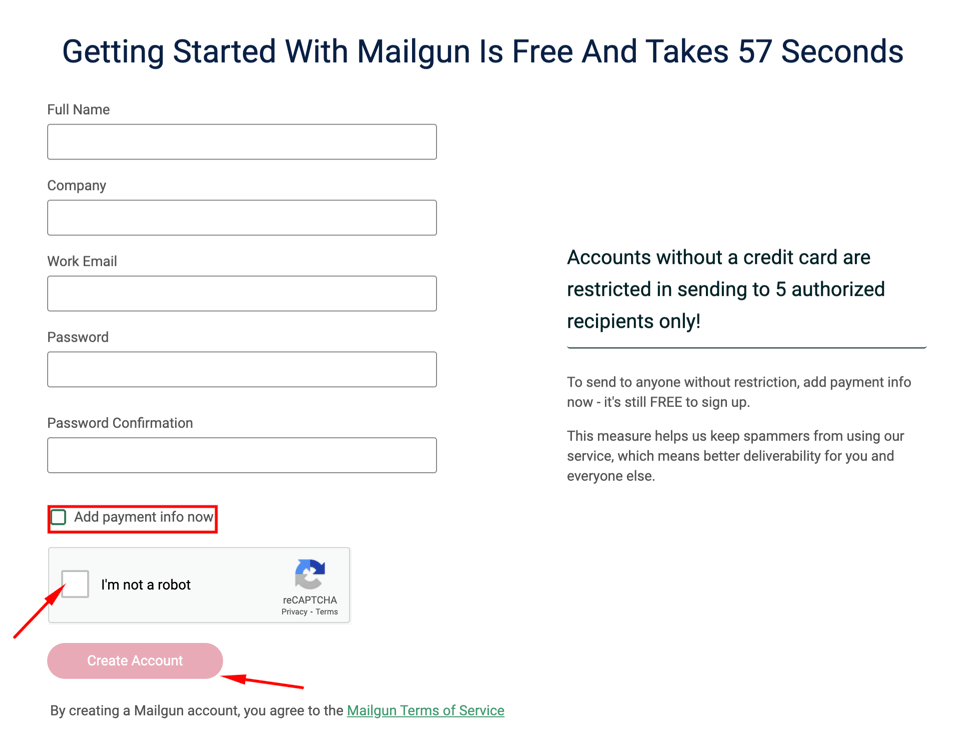
Once done, hit the Create Account button and you’ll be redirected to the Mailgun dashboard.
Access the API key
You’ll need an API key to set up Mailgun with an SMTP plugin to send emails from WordPress. To access that, click on settings and then select API keys.
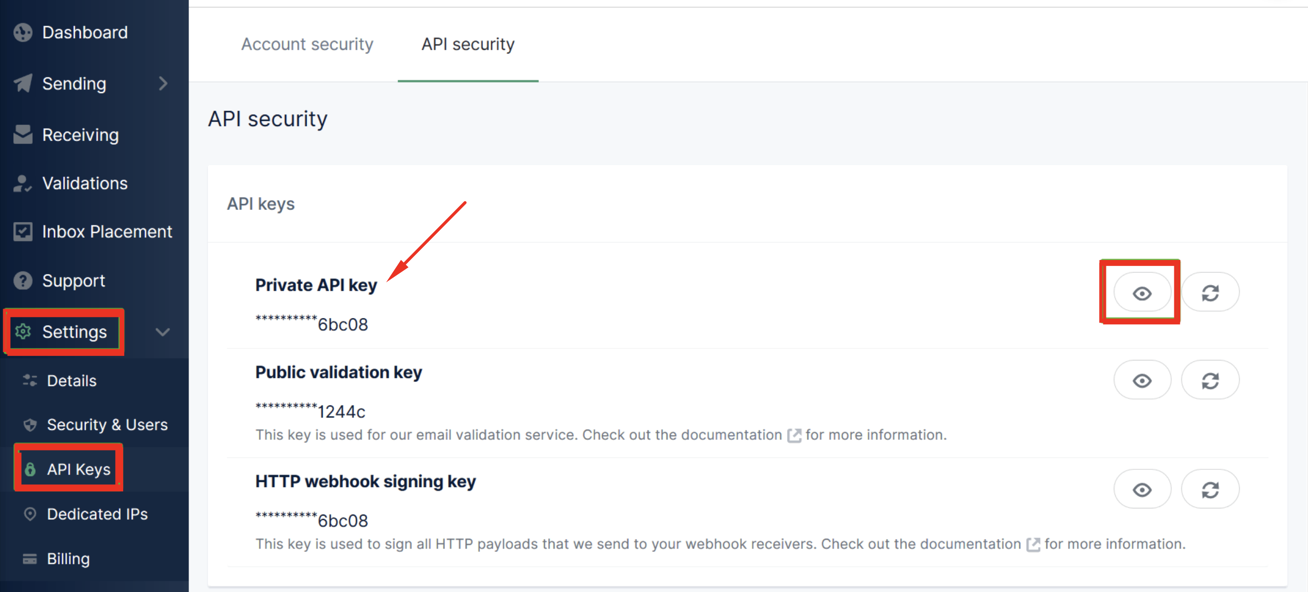
Copy the Private API Key from here. You’ll need to use it while setting up the SMTP plugin later.
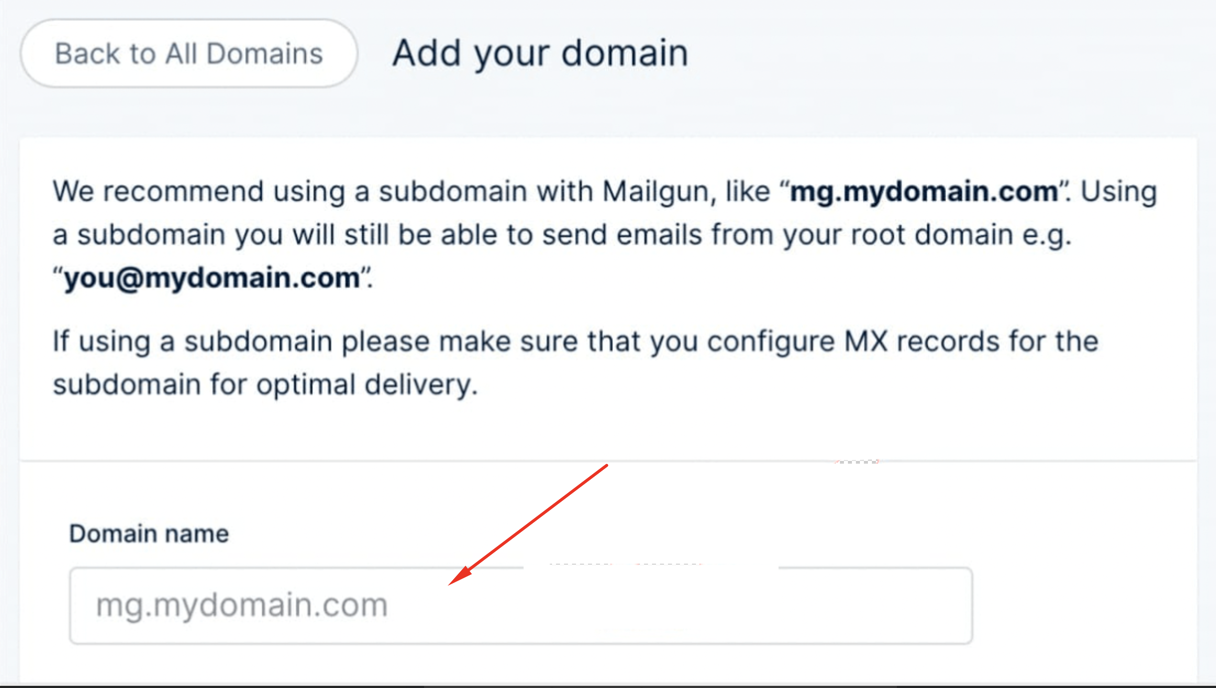
Add your domain
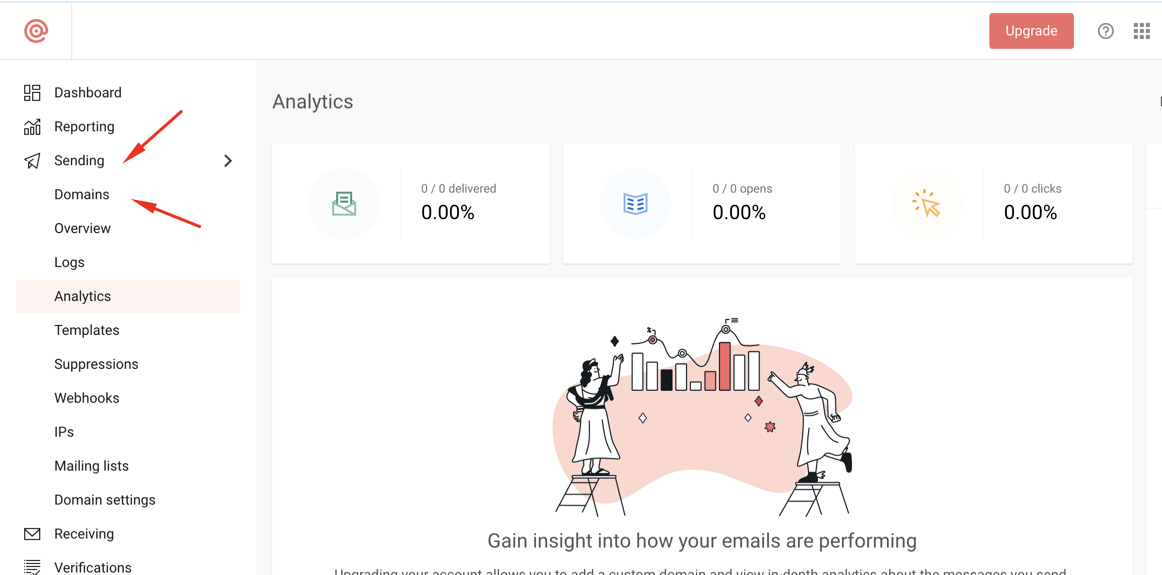
From the Mailgun dashboard, click on Sending and then Domains.
Now click on Add New Domain.
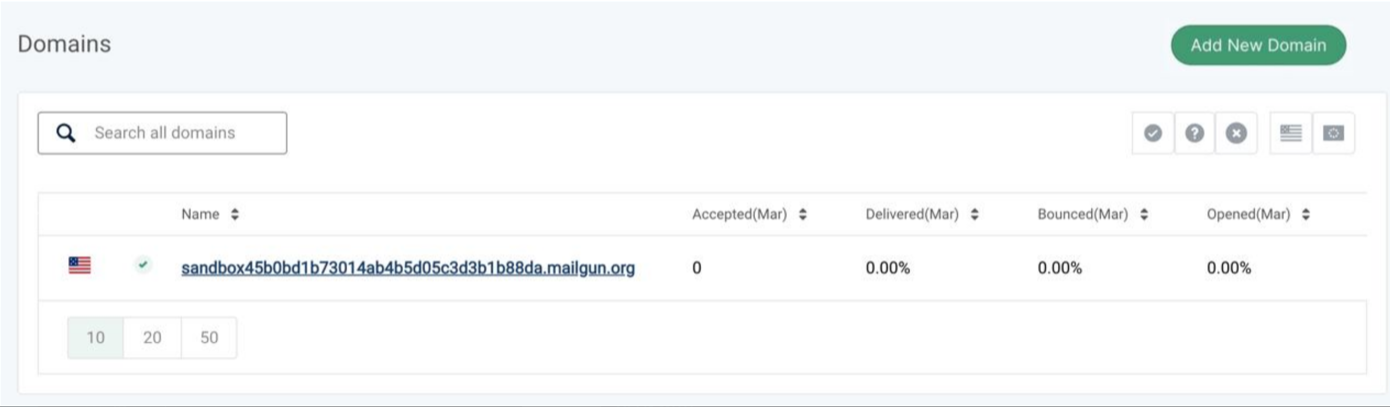
Put your domain name here.
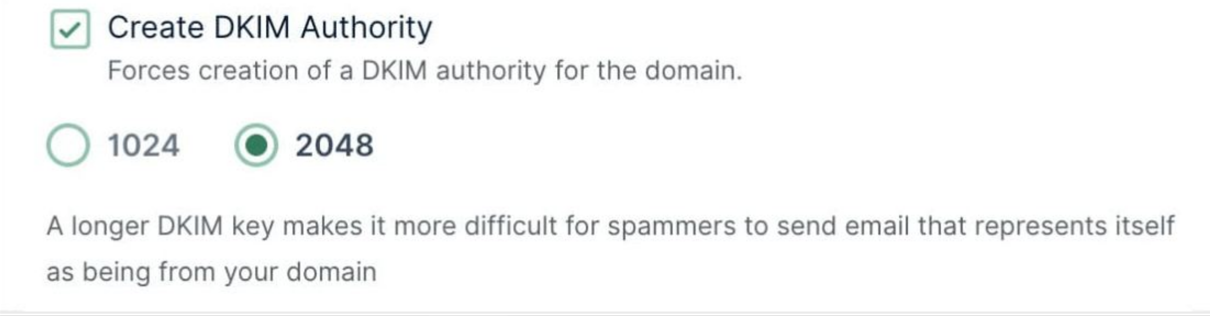
Don’t forget to create a DKIM authority because security protections like DMARC, SPF, and DKIM are necessary to prevent hackers.
Set up an SMTP plugin
Now that your Mailgun account and API key are ready, it’s time to install an SMTP plugin on your WordPress website. Though several options for SMTP plugins are available, we picked the best one for you. And it’s called FluentSMTP.
But, why and how is it best?
Well, this plugin is the most feature-packed SMTP plugin out there, and you won’t have to spend a penny to use this. Here’s what you’ll need to do to get started with FluentSMTP.
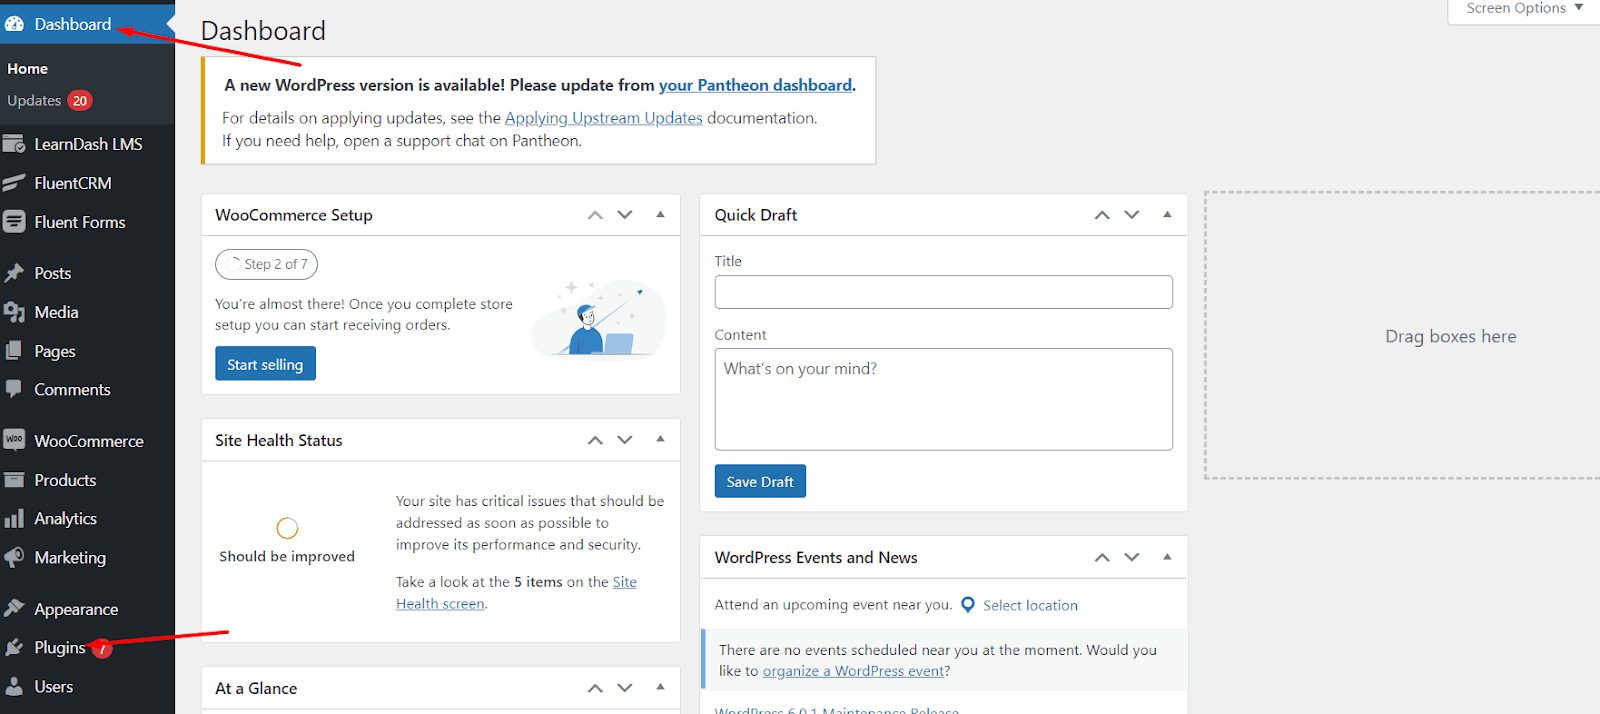
Let’s start off by downloading FluentSMTP. You can get it from either the WordPress repository or the WordPress dashboard. Click the Plugins tab on your WordPress dashboard.
Click on the Add New button and on the next page, click on Add New.

Type FluentSMTP in the search box.
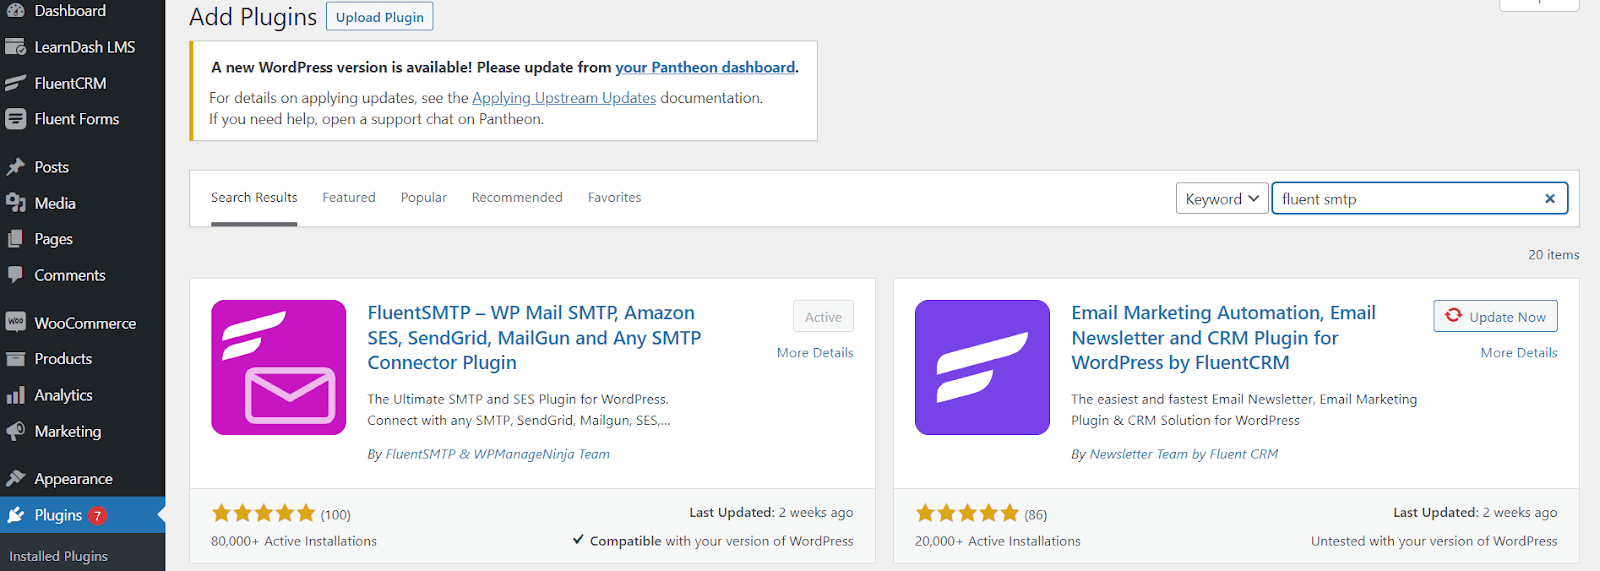
Once you have downloaded the plugin, install and activate it to get started with it.
Configure Mailgun with FluentSMTP
To configure SendGrid with FluentSMTP, you have to visit the FluentSMTP dashboard. To execute this, hit plugins and then choose FluentSMTP. The dashboard will look like the one below, and you will need to select Settings.

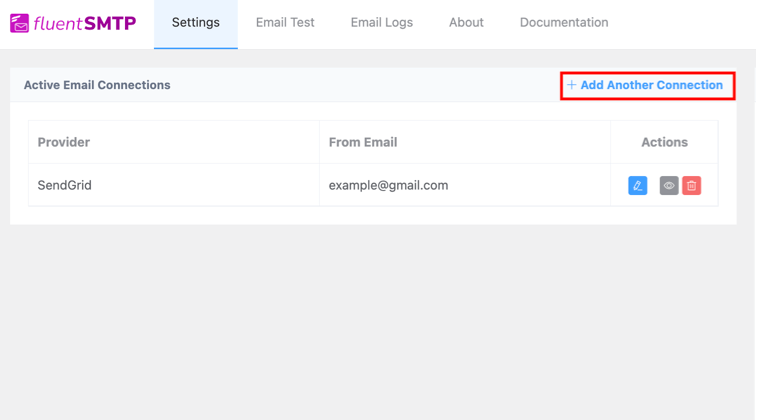
On the next page, click on Add Another Connection.
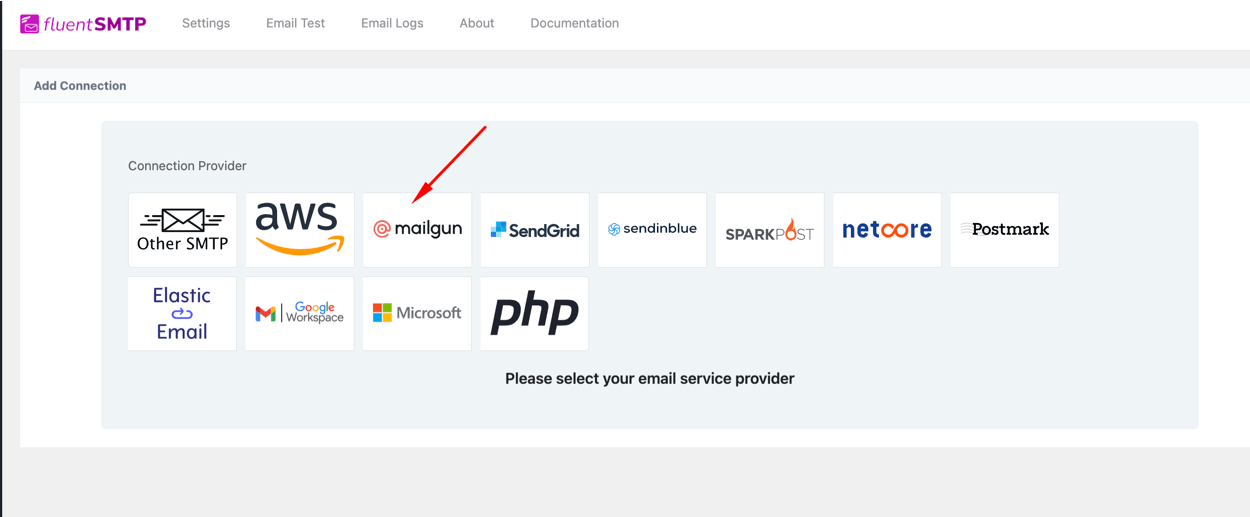
From all the available connection providers, select Mailgun.
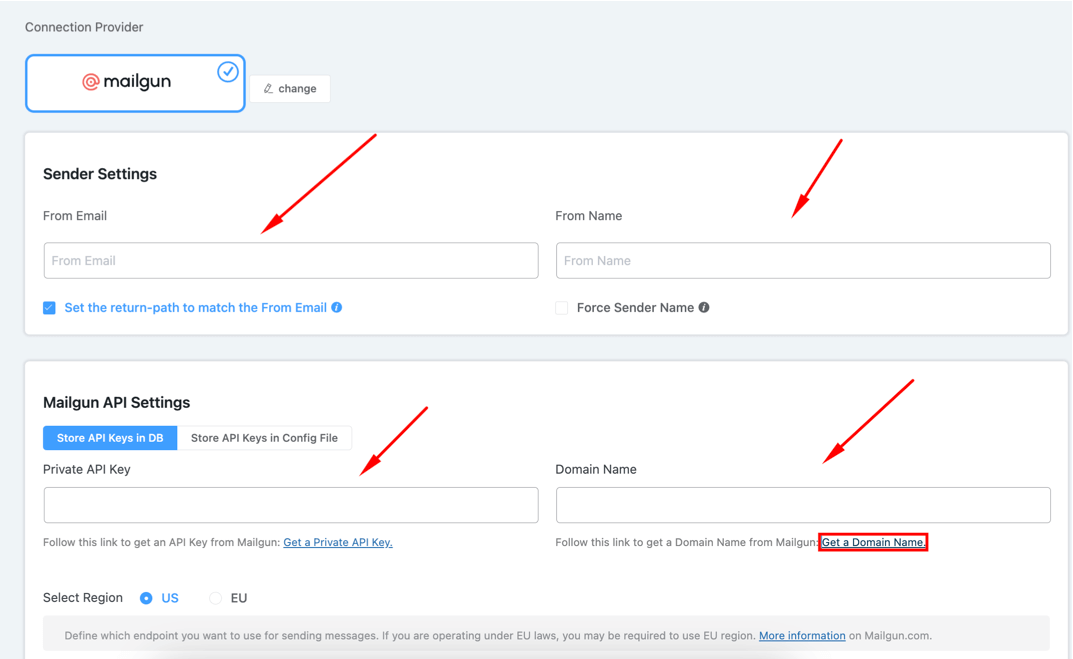
Now you have to fill up the necessary boxes with From Email, From Name, API Key, and Domain Name. Paste the API Key you have copied from earlier. And you can get a Domain name by clicking on the Get a Domain Name.
Send a test email
After setting up your Mailgun account with FluentSMTP, click on Email Test from the FluentSMTP dashboard.
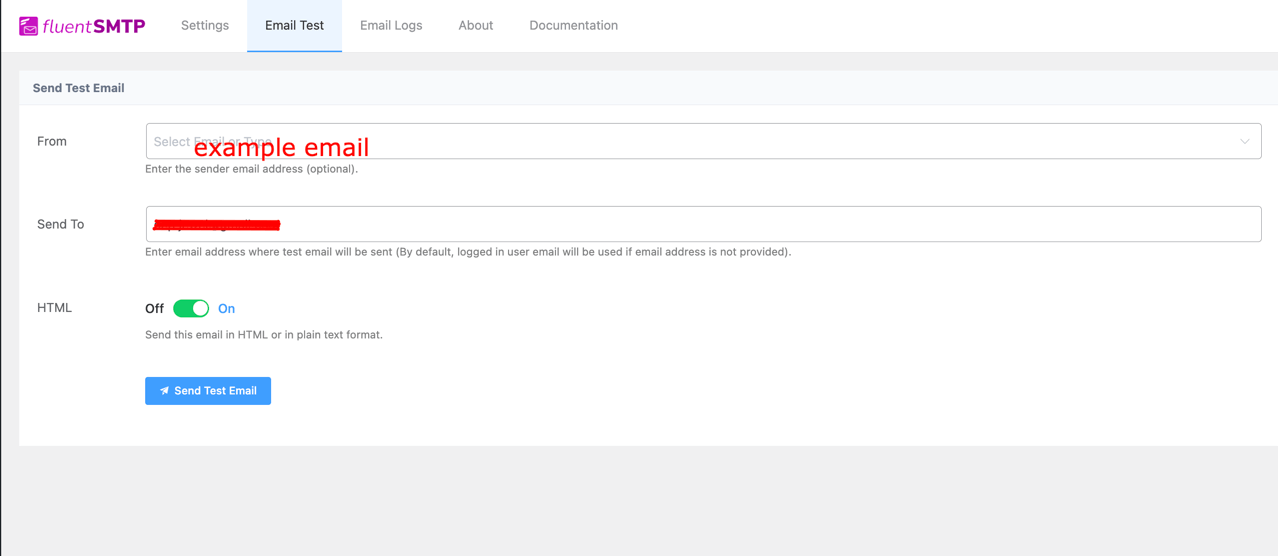
Click the Send Test Email button and if you see the email was delivered, you have successfully configured Mailgun to send WordPress emails.
Wrapping up
Though Mailgun is an amazing tool for sending emails, a huge number of people can’t make the most out of it because of not knowing to configure it to send WordPress emails. We hope this tutorial was helpful enough to solve that problem for you.
With the newfound knowledge, you’ll get a better email deliverability rate, even if you are sending them from WordPress. Don’t forget to let us know in the comments if you face any difficulties while performing the procedure!
Sakhawat Showrabh
Table of Content
Subscribe To Get
WordPress Guides, Tips, and Tutorials


Leave a Reply