
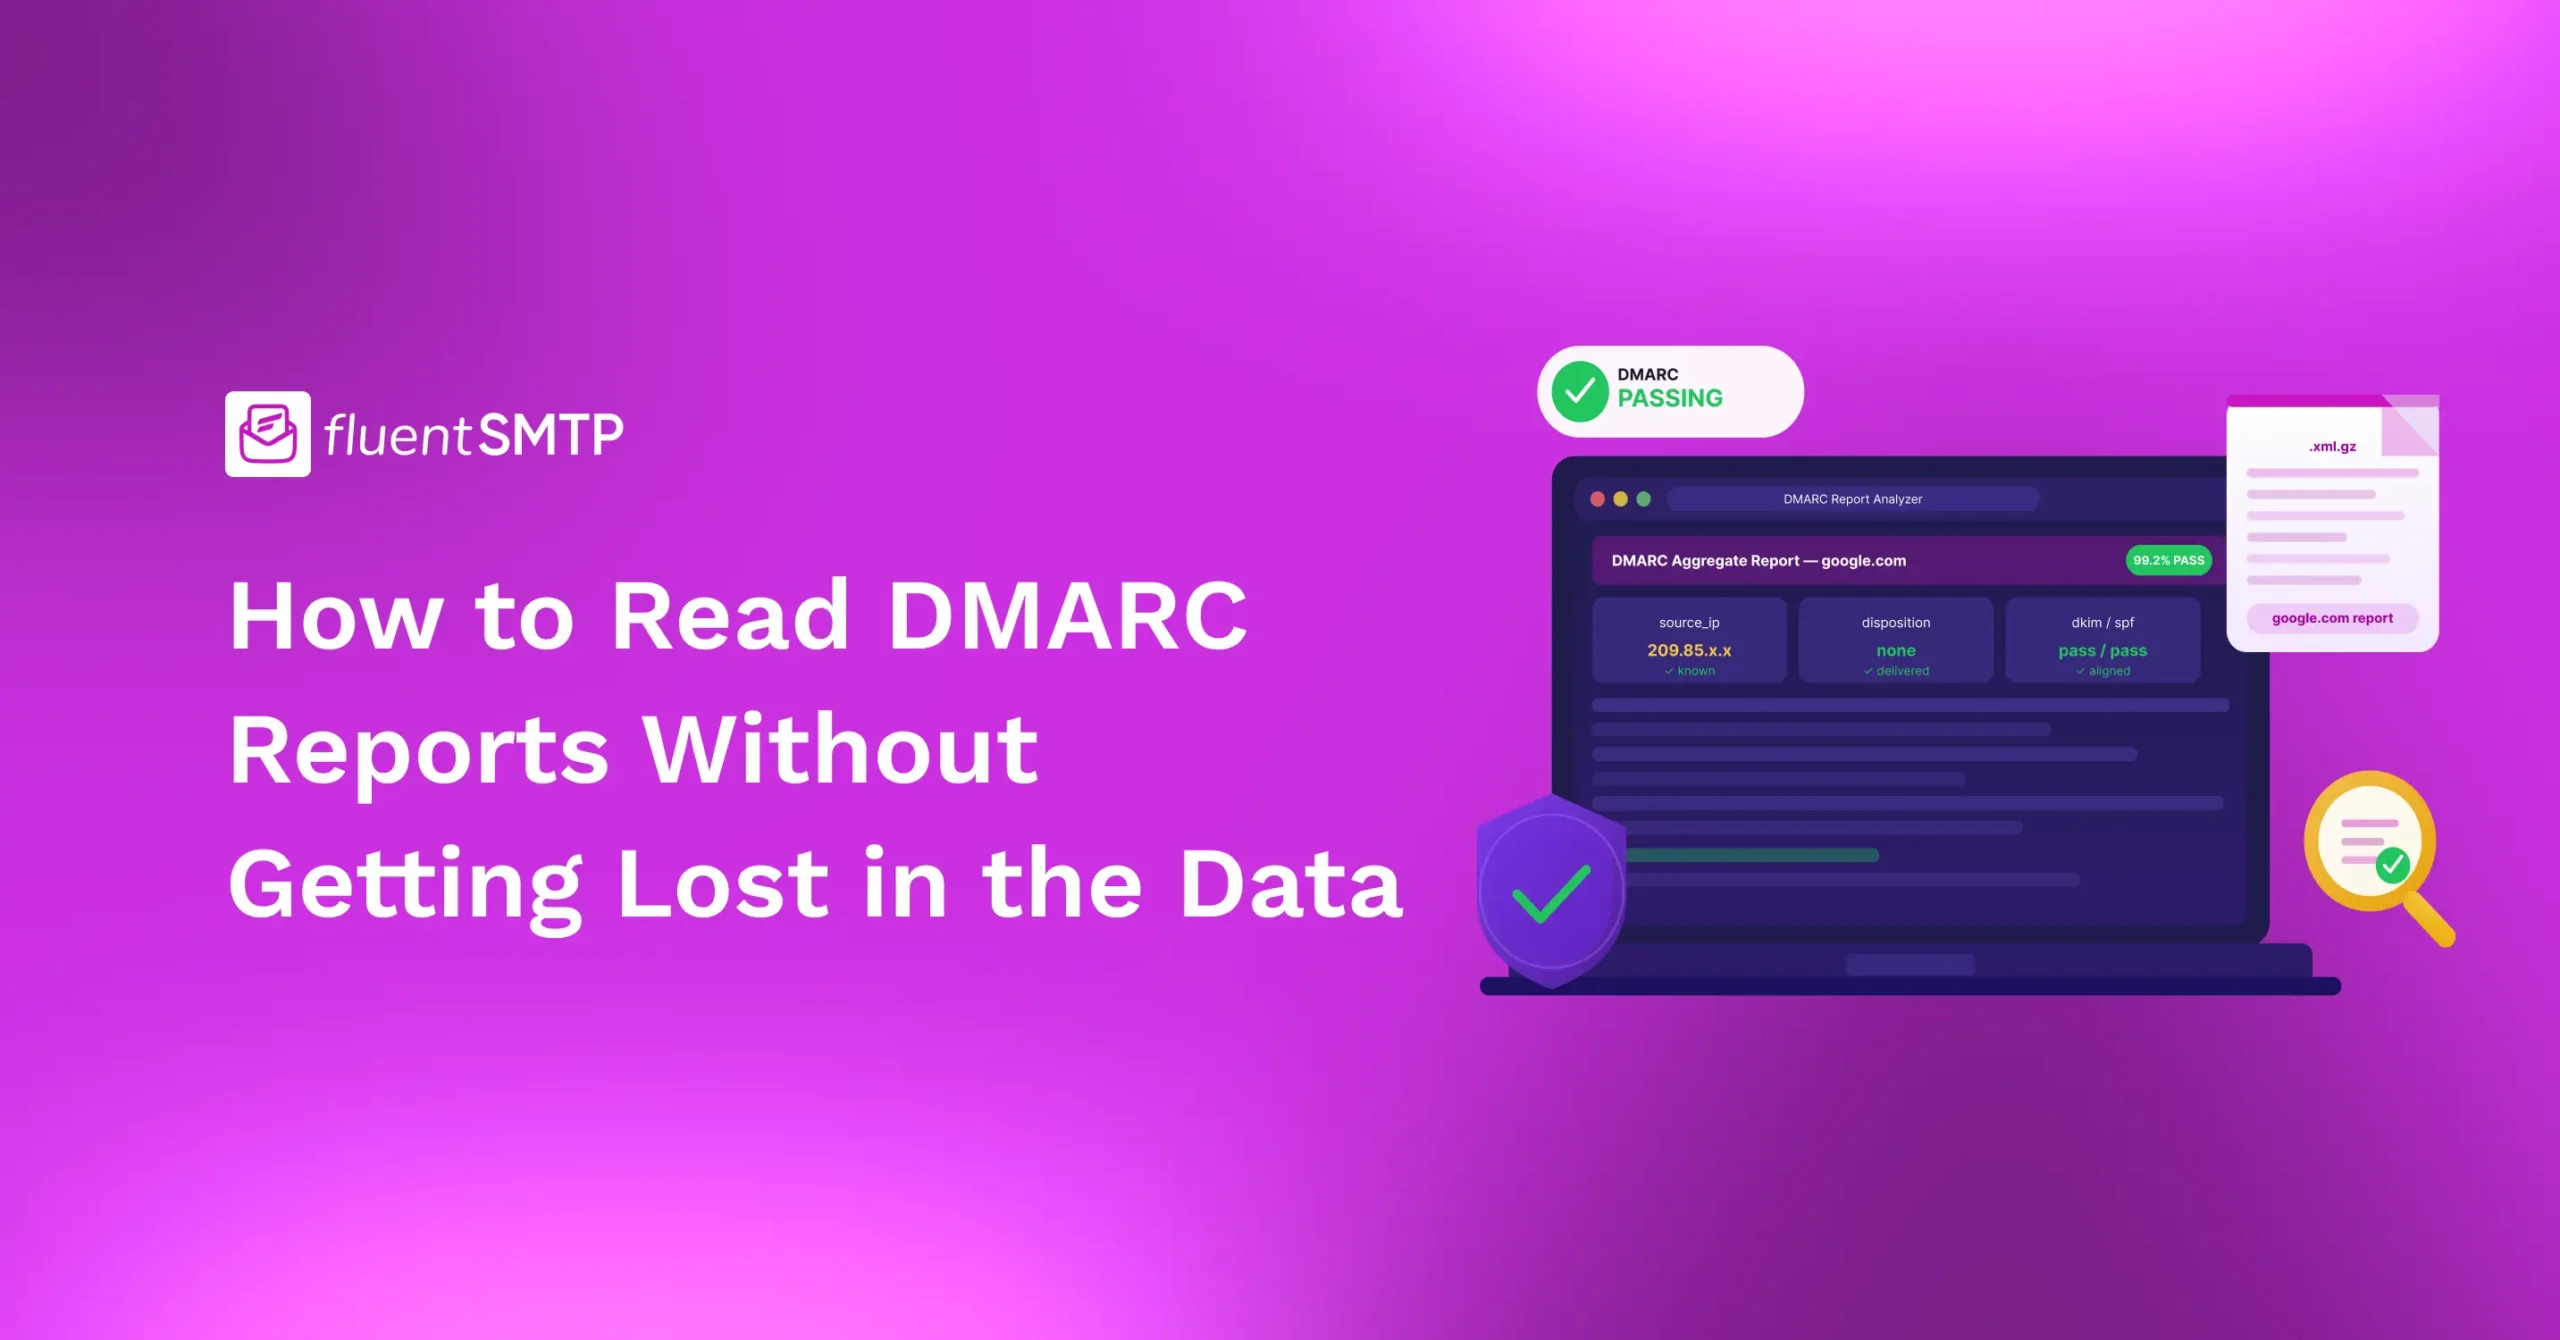
How to Read DMARC Reports Without Getting Lost in the Data


You set up your DMARC record, added the rua= tag, and moved on.
Then, a day later, something unexpected showed up in your inbox. An email from [email protected] with a cryptic .xml.gz attachment. Then another from Yahoo. Then one from Microsoft.
Well, don’t worry! You’re not in trouble.
These are your DMARC aggregate reports, and they’re supposed to arrive.
But if you opened that attachment and were met with a wall of XML that made no sense, you’re in good company.
This guide covers everything. How to open the files, what every section means, why your email might show “SPF pass” but still fail DMARC, how to spot problems, and how to use the data to tighten your setup with confidence.
By the end, you’ll know exactly what your DMARC reports are telling you and what to do about it.
Let’s go!
What Are DMARC Reports and Why Do You Receive Them?
When you publish a DMARC record with a rua tag, you’re essentially sending an open invitation to every receiving mail server: “Please send me a daily summary of every email that claims to come from my domain.” Major providers like Gmail, Yahoo Mail, and Outlook honor that request and usually send a report every 24 hours. These reports are known as DMARC reports.
Aggregate Reports (RUA) VS Forensic Reports (RUF)
Many people confuse Aggregate Reports (RUA) with Forensic Reports (RUF). When someone mentions “DMARC reports,” which one are they actually referring to?
Well, most of the time, people are referring to Aggregate Reports (RUA). These reports are the backbone of DMARC monitoring, and they’re the primary focus of this guide.
However, to clear up the confusion, here’s what each type of report means:
Aggregate Reports (RUA): The Daily XML Summaries
Aggregate reports arrive as .xml.gz or .zip files and contain a statistical summary of email activity for a given 24-hour window. They don’t include any message content. Just authentication data: which IPs sent email, how many messages, and whether each one passed or failed SPF, DKIM, and DMARC.
Forensic Reports (RUF): Individual Failure Details
Forensic reports, triggered by the ruf tag, give per-message details on individual failures. They’re more granular, but many major providers, including Gmail, stopped sending them due to privacy concerns.
Tip: Don’t rely on Forensic Reports (RUF) as part of your regular workflow. Aggregate reports give you everything you need.
Why Are You Getting So Many of Them?
Here’s what catches people off guard. But let us assure you, this is normal. Because you don’t get one report per day. You get one report per receiving provider per day.
If your domain sends email to recipients on Gmail, Yahoo, and Outlook, that’s already three separate reports. On top of that, many business email systems and email security tools also send their own reports. And, a moderately active domain can easily receive 10 to 30 files daily.
Tip: If the volume is filling up your inbox, set up a filter or a dedicated mailbox just for these reports. Even better, route your rua address to a free third-party parser so everything is consolidated into a single dashboard.
If you want a full picture of how SPF, DKIM, and DMARC work together as a system, the Email Authentication guide covers all three in detail
How to Open DMARC Report Files
DMARC Reports arrive compressed, either as .xml.gz or .zip. Before you can read a DMARC report, you need to get past the file format.
Here’s how to open them on each platform.
Decompressing the File
On Windows: Right-click the file and extract it using 7-Zip (free) or WinRAR. You’ll get a plain .xml file.
On Mac: Double-click the file in Finder. macOS handles both .gz and .zip natively and gives you the .xml automatically.
On Linux or Mac Terminal: Run gunzip filename.xml.gz for .gz files. For .zip files, run unzip filename.zip.
Once decompressed, you can open the .xml file in any text editor. But what you’ll see is still fairly dense if you’re not used to XML. That’s where parsers come in.
Free DMARC Report Parsers
For WordPress site owners and small senders using FluentSMTP, a free parser tool is the most practical option. These tools take your raw XML and turn it into something you can actually read and act on.
Here are four solid free options:
- MXToolbox DMARC Analyzer: Upload or paste your XML for an instant visual breakdown. Good for one-off checks.
- Postmark DMARC (dmarc.postmarkapp.com): Free, no account required. Email your reports to their address and get a weekly digest.
- Google Postmaster Tools: If Gmail deliverability is your main concern, this shows aggregate DMARC pass rates without needing to open individual files.
- EasyDMARC free tier: Point your rua tag at their reporting address and get a full dashboard. More feature-rich, but requires an account.
For most WordPress sites, any one of these will cover everything you need.
When Should You Read the Raw XML?
Even if you use a parser day-to-day, understanding the raw XML is still worth your time. It helps you know what a tool is actually showing you. And it’s essential when something unusual shows up, and you need to dig deeper.
The next section walks through the full structure with examples.
Anatomy of a DMARC Aggregate Report: Section by Section
Every DMARC aggregate report, no matter which provider sends it, follows the same XML structure. There are three main sections: report_metadata, policy_published, and one or more record blocks.
Here’s a complete example:
<?xml version="1.0" encoding="UTF-8" ?>

<feedback>

  <report_metadata>

    <org_name>google.com</org_name>

    <email>[email protected]</email>

    <report_id>9876543210987654321</report_id>

    <date_range>

      <begin>1714435200</begin>

      <end>1714521600</end>

    </date_range>

  </report_metadata>

  <policy_published>

    <domain>yourdomain.com</domain>

    <adkim>r</adkim>

    <aspf>r</aspf>

    <p>quarantine</p>

    <sp>none</sp>

    <pct>100</pct>

  </policy_published>

  <record>

    <row>

      <source_ip>209.85.220.41</source_ip>

      <count>47</count>

      <policy_evaluated>

        <disposition>none</disposition>

        <dkim>pass</dkim>

        <spf>pass</spf>

      </policy_evaluated>

    </row>

    <identifiers>

      <header_from>yourdomain.com</header_from>

    </identifiers>

    <auth_results>

      <dkim>

        <domain>yourdomain.com</domain>

        <result>pass</result>

        <selector>google</selector>

      </dkim>

      <spf>

        <domain>yourdomain.com</domain>

        <result>pass</result>

      </spf>

    </auth_results>

  </record>

</feedback>
Let’s go through each section.
Section 1: report_metadata
This tells you who sent the report and what time period it covers.
| Field | What It Means |
| org_name | The mail provider that generated this report, e.g., google.com, yahoo.com, outlook.com |
| The provider’s contact address for DMARC reporting | |
| report_id | A unique ID for this specific report |
| date_range > begin / end | The reporting window as Unix timestamps, typically a 24-hour span |
What to check here: The org_name tells you which provider’s traffic you’re looking at. Each file in your inbox is from a different provider covering the same 24-hour window. To convert those Unix timestamps into readable dates, paste the number into any online Unix timestamp converter. Or just read the filename: it usually encodes the provider, your domain, and the date range right in the file name.
Section 2: policy_published
This is a mirror of your DMARC record, exactly as the receiving server read it from your DNS at the time the report was generated.
| Field | What It Means |
| domain | Your domain |
| adkim | DKIM alignment mode: r = relaxed (default), s = strict |
| aspf | SPF alignment mode: r = relaxed (default), s = strict |
| p | Your DMARC policy: none, quarantine, or reject |
| sp | Subdomain policy, overrides p for subdomains if set |
| pct | The percentage of failing mail the policy applies to (default: 100) |
What to check here: If p shows none, your policy is in monitoring mode. Nothing is being quarantined or rejected, regardless of whether emails pass DMARC. This is correct when you’re first collecting data. But if pct is below 100, only that percentage of failing messages will have the policy applied. A pct=20 with p=quarantine means 80% of failing mail still gets delivered normally.
For a full breakdown of DMARC policy tags and how to configure them, What are DMARC, SPF, and DKIM?
Section 3: record
This is where the useful data lives. Each <record> block represents a group of emails from a single IP address. A report with 4 different sending sources will have 4 <record> blocks. Each record has three sub-sections.
row: What Happened
| Field | What It Means |
| source_ip | The IP address that sent the emails |
| count | How many emails came from this IP during the reporting window |
| policy_evaluated > disposition | The action taken: none (delivered normally), quarantine (sent to spam), or reject (blocked) |
| policy_evaluated > dkim | Whether DKIM passed or failed from DMARC’s perspective, alignment included |
| policy_evaluated > spf | Whether SPF passed or failed from DMARC’s perspective, alignment included |
identifiers: Which Domain Was Used
| Field | What It Means |
| header_from | The domain in the visible From: address. This is what DMARC checks alignment against. |
| envelope_from | The return-path domain used during the SMTP transaction, used for SPF alignment |
auth_results: The Raw Authentication Results
| Field | What It Means |
| dkim > domain | The domain in the DKIM signature (d= tag) |
| dkim > result | The raw DKIM check result: pass or fail |
| dkim > selector | The DKIM selector used (s= tag) |
| spf > domain | The domain checked against your SPF record |
| spf > result | The raw SPF result: pass, fail, softfail, neutral, permerror, or temperror |
One thing to pay attention to: auth_results and policy_evaluated are not the same thing.
- auth_results shows whether the authentication mechanism itself passed
- policy_evaluated shows whether DMARC actually passed after checking alignment
You can have auth_results > spf: pass alongside policy_evaluated > spf: fail. That’s confusing the first time you see it. The next section explains exactly why it happens.
The Most Important Concept: DMARC Alignment
This is the single most common source of confusion in all of DMARC. It comes up in every forum thread. Most tutorials either skip it entirely or mention it once and move on. But if you don’t understand alignment, the reports will never quite make sense.
Here’s the rule: DMARC doesn’t just ask “did SPF or DKIM pass?” It asks, “Did SPF or DKIM pass for the same domain that appears in the From: address?”
That second requirement is called alignment. And when it fails, you get the situation where SPF says pass, but DMARC still fails.
SPF Alignment
When a mail server receives your email, it checks the return-path domain (the hidden address used during the SMTP transaction) against your SPF record. SPF might pass for that domain. But then DMARC checks: does that return-path domain actually match your visible From: address?
If you send from [email protected] but your email tool uses [email protected] as the return-path, SPF passes for mailchimp.net. But, DMARC alignment fails because mailchimp.net does not match yourdomain.com.
For SPF setup help, see How to Set Up SPF Record?
DKIM Alignment
The same logic applies to DKIM. Your email might have a valid DKIM signature, but if that signature belongs to d=sendgrid.net instead of d=yourdomain.com, DKIM passes its own check but fails DMARC alignment.
For DKIM setup, see How to Set up DKIM Record
Relaxed vs. Strict Alignment
By default, both adkim and aspf are set to relaxed (r). In relaxed mode, subdomains count as aligned.
- mail.yourdomain.com aligns with yourdomain.com ✓
- yourdomain.com aligns with yourdomain.com ✓
- sendgrid.net does not align with yourdomain.com ✗
In strict mode (s), only an exact domain match counts. No subdomains. Stick with relaxed unless you have a specific reason to change it.
Why This Matters for WordPress Sites
This is especially relevant if you use any of these tools alongside FluentSMTP:
- Newsletter tools like Mailchimp, Brevo, or ConvertKit
- CRM platforms like HubSpot or Salesforce
- WooCommerce paired with a transactional email provider
- Helpdesk tools like Freshdesk or Zendesk that send notifications from your domain
By default, most of these services sign emails with their own DKIM key (d=mailchimp.net, d=hubspot.com) and use their own return-path domain. Neither SPF nor DKIM aligns with your From: domain. So DMARC fails, even though both authentication checks technically pass on their own.
The fix is to configure custom domain authentication inside each of these services. That usually means adding their DKIM record to your DNS and, where supported, setting up a custom return-path subdomain. Most major platforms support this. Search their help docs for “custom domain authentication” or “authenticate your sending domain.”
The 5 Most Common Patterns in DMARC Reports
Once you understand the structure and alignment, reading reports becomes pattern recognition.
Here are the five scenarios you’ll encounter most often, and what each one means.
Pattern 1: All Passes from a Known IP
source_ip: 209.85.220.41
count: 124
disposition: none
dkim: pass
spf: pass
header_from: yourdomain.com
Both SPF and DKIM passed and aligned. The disposition is none, meaning the email was delivered normally. 209.85.220.41 is a Google IP, so this represents an email sent through Gmail or Google Workspace.
What to do: This is exactly what you want to see for every authorized sender. No action needed.
Pattern 2: Passes from an Unfamiliar IP
source_ip: 52.14.209.100
count: 8
disposition: none
dkim: pass
spf: pass
header_from: yourdomain.com
Authentication passed, but you don’t recognize the IP. Don’t ignore this.
What to do: Look it up using a reverse DNS tool like MXToolbox Reverse Lookup. It’s often something like a third-party tool a team member connected to, or a cloud service sending automated notifications under your domain.
If it’s legitimate, confirm it’s properly authenticated. If you genuinely can’t identify it even after a reverse lookup, treat it as suspicious before moving to a stricter DMARC policy.
Pattern 3: Failures from a Service You Use
source_ip: 198.2.134.144
count: 22
disposition: none
dkim: fail
spf: fail
header_from: yourdomain.com
spf domain: mailchimpapp.net
dkim domain: mcsv.net
This is the most common failure pattern for WordPress site owners and small businesses.
A service you’re using (in this example, Mailchimp) is sending email that claims to be from yourdomain.com, but its SPF and DKIM are tied to Mailchimp’s own domains. Neither aligns with yourdomain.com, so DMARC fails.
The disposition shows none because your policy is still p=none. Once you move to quarantine or reject, these emails will be filtered or blocked.
What to do: Log into that service and configure custom domain authentication. This usually means adding a CNAME or TXT record for their DKIM key to your DNS. The service’s help docs will walk you through it. Search for “custom domain authentication” or “authenticate your sending domain.”
Pattern 4: Failures from an IP You Don’t Recognize
source_ip: 185.220.101.47
count: 3
disposition: quarantine
dkim: fail
spf: fail
header_from: yourdomain.com
An IP you’ve never authorized is sending an email that claims to be from your domain.
With p=quarantine, those messages are being routed to spam. With p=reject, they’d be blocked outright. This is exactly what DMARC is designed to catch: domain spoofing, phishing attempts, and spam campaigns impersonating your brand.
What to do: If you’re seeing this pattern, your DMARC setup is working correctly. No specific action is needed on this record. The goal is to reach p=reject so these messages are blocked entirely rather than just filtered.
Pattern 5: SPF permerror
source_ip: 209.85.220.41
count: 56
disposition: none
spf result: permerror
dkim: pass
A permerror is a permanent SPF error. The most common cause is exceeding the 10 DNS lookup limit in your SPF record.
When SPF hits this limit, it fails for all messages. DMARC then loses SPF as a fallback and has to rely entirely on DKIM alignment.
What to do: This is a common problem for sites that have added multiple third-party services over time, each bringing its own include: mechanism. In this example, DKIM still passed, so DMARC passed overall. But having SPF broken makes your setup fragile. Fix it even if things look fine right now.
For SPF help when adding new services, see How to Merge Multiple SPF Records
Your DMARC Policy Progression: From Monitoring to Enforcement
Reading reports isn’t just about understanding what they show. It’s about knowing when you’re ready to tighten your policy.
Here’s the progression to follow.
Stage 1: p=none (Monitoring Mode): You’re collecting data. No email is being quarantined or blocked. This is the right place to start. Spend at least one to two weeks here and identify all your legitimate senders before moving on.
Stage 2: p=quarantine; pct=10 or pct=25 (Cautious Enforcement): Once your legitimate senders are all passing cleanly, begin enforcement at a low percentage. This limits the impact if something breaks unexpectedly. Keep monitoring for new failures.
Stage 3: p=quarantine; pct=100 (Full Quarantine): Increase to 100% once the lower percentage looks stable. All failing mail now goes to spam instead of being blocked, which is a safer stopping point before full rejection.
Stage 4: p=reject (Full Enforcement): The goal. All failing email is rejected outright by receiving servers. Only move here once your DMARC pass rate is consistently at or above 99%.
One rule before moving to the next stage: If you’re still seeing failures from services you actually use (your FluentSMTP provider, WooCommerce notification emails, your newsletter tool), fix those first. Moving to reject while a legitimate service is still failing will cause your own email to get blocked.
A Simple Routine for Reviewing DMARC Reports
You don’t need to open every XML file. Here’s what an efficient review looks like.
Step 1: Know your sending sources before you analyze
Make a list of every service that sends email from your domain: your web host, FluentSMTP with your SMTP provider, your newsletter tool, your CRM, your e-commerce platform, your helpdesk. You can’t evaluate what you’re seeing without knowing what “legitimate” looks like for your setup.
Step 2: Check the overall pass rate first
In any analyzer tool, your DMARC pass rate is the most important number. If it’s 95% or above, you’re in good shape. Below 90% means there’s a real alignment problem to fix before you can safely enforce.
Step 3: Group failures by source IP
For each failing IP, look it up. Classify it as: (a) a legitimate service that needs authentication fixes, (b) an authorized sender with a configuration problem, or (c) an unknown or suspicious source.
Step 4: Fix legitimate senders first
Before tightening your policy, make sure every service you actually use is passing cleanly. Tightening policy while a legitimate sender is still failing is the most common way people accidentally block their own email.
Step 5: Follow the policy progression
Once your pass rate is consistently high, move through the stages in order. Don’t jump straight to p=reject.
Step 6: Keep monitoring even after you reach p=reject
Adding a new plugin, switching SMTP providers, or rotating DKIM keys can introduce new failures at any time. Monthly check-ins are enough for a stable setup. Review more often when you’re making changes.
Frequently Asked Questions
What Your Reports Are Really Telling You
Strip away the XML, and every DMARC report is answering three questions.
- Is my legitimate email passing authentication? Check policy_evaluated > dkim and spf for every IP you recognize.
- Is anyone sending unauthorized email from my domain? Look for failing records from IPs you’ve never authorized.
- Is my DMARC policy being applied correctly? Check disposition values to confirm quarantine and reject are working as expected.
That’s it.
Once you’ve identified your legitimate senders, confirmed they’re passing cleanly, and investigated any unknown IPs, you have everything you need to tighten your policy with confidence.
Start in monitoring mode, collect two weeks of reports, fix every legitimate sender that’s failing, and then follow the enforcement progression. DMARC reports are not a chore. They’re the clearest window you have into what’s being sent from your domain and whether it’s reaching inboxes the way it should.
That’s all. Good luck.
Nader Chowdhury
Table of Content
Subscribe To Get
WordPress Guides, Tips, and Tutorials


Leave a Reply