
How to Configure Elastic Email for Sending WordPress Email


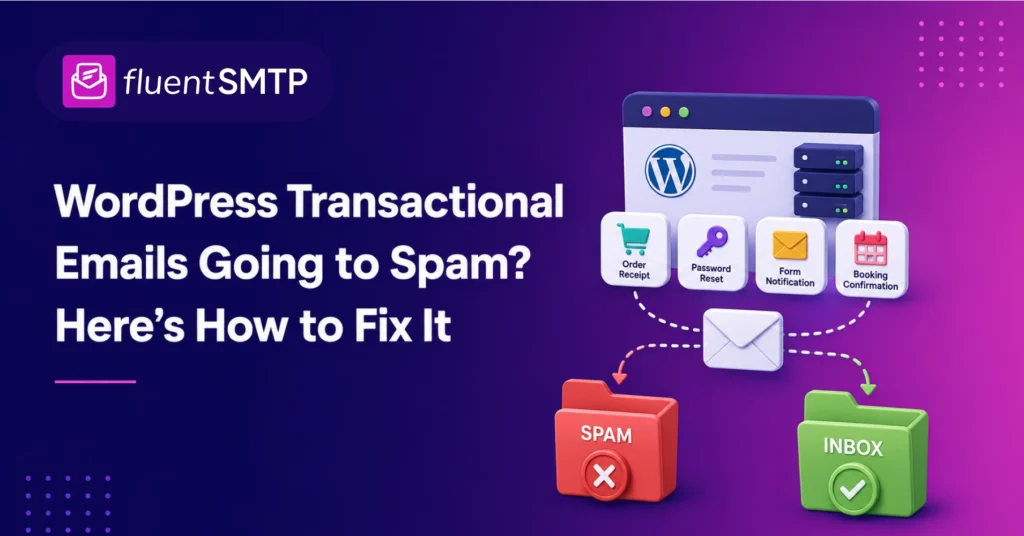
We know how it feels when you send an email from WordPress and it ends up as spam! You might be wondering what went wrong and how can I fix it.
Well, although WordPress is currently the most popular CMS platform in the web arena it has few limitations. And one of them is its limitation in directly connecting with email service providers.
Don’t worry. An SMTP plugin can replace the default PHP mail function of WordPress and integrating your website with an SMTP server ensures reliable email deliverability.
In this article, we’ll share the easiest guideline to integrate Elastic Email with an SMTP plugin from WordPress so that your emails hit the inbox!
Let’s begin.
What is Elastic Email?
Elastic Email is a cloud-based intuitive email marketing software company located in Canada. They started their journey in 2010 and currently providing fast, flexible, and cost-effective solutions to their customers.
Elastic Email provides both marketing email and transactional email services to their customers to ensure timely, efficient, and reliable email deliverability. It offers three major services currently. These are-
- Email marketing: Helps you to take control of your email marketing campaign with impressive features
- Email API: Integrate with API or SMTP relay and stop traveling to the spam box
- Email verification integrations: Send the right email to the right contact to avoid invalid emails
It offers 100 emails/day by signing up and integrating the API key with a powerful and robust SMTP plugin like FluentSMTP. Moreover, it offers cost-effective packages to ensure value for money.
Download FluentSMTP
(100% Free)
Get the most powerful SMTP plugin for free and hit the recipient’s inbox with your WordPress emails

So, Elastic Email can be your go-to option if you’re running a startup or small business and looking for cost-effective and reliable email delivery software for WordPress.
How to set up Elastic Email on WordPress for smooth email delivery
If your emails aren’t reaching your recipients, you need to use a reliable and powerful SMTP tool to ensure the timely delivery of your emails. It’s ideal to replace the default PHP email function with something efficient, reliable, and trustworthy to solve your email deliverability issues.
Learn more: Why you shouldn’t use WordPress to send emails
That’s where FluentSMTP does its job best. It’s completely free and a gift to the WordPress community. FluentSMTP, fueled by the power of the API of Elastic Email will solve all your problems and ensure your messages are hitting the inbox instead of the spam folder.
Let’s follow this easy and quick guideline to integrate Elastic Email with FluentSMTP in WordPress and forget about email deliverability issues.
Create your Elastic Email account
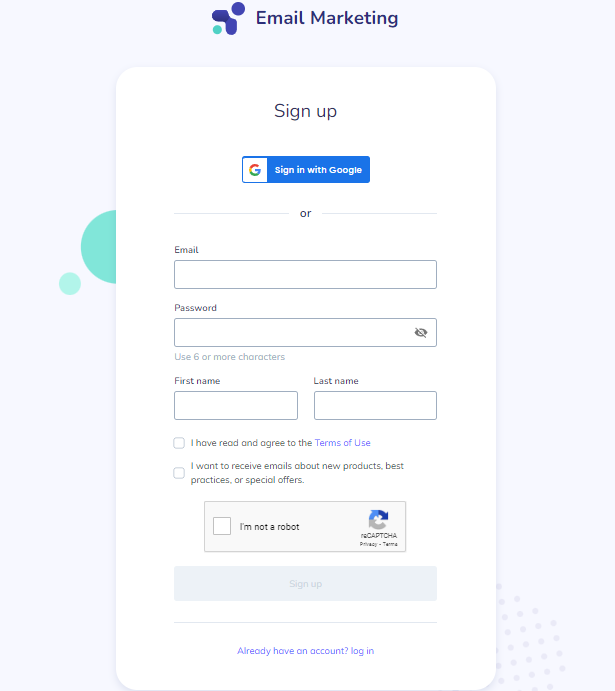
The first thing you need to do is to create an Elastic Email account. To do so, sign up from here and you’ll be asked to choose your product like this—
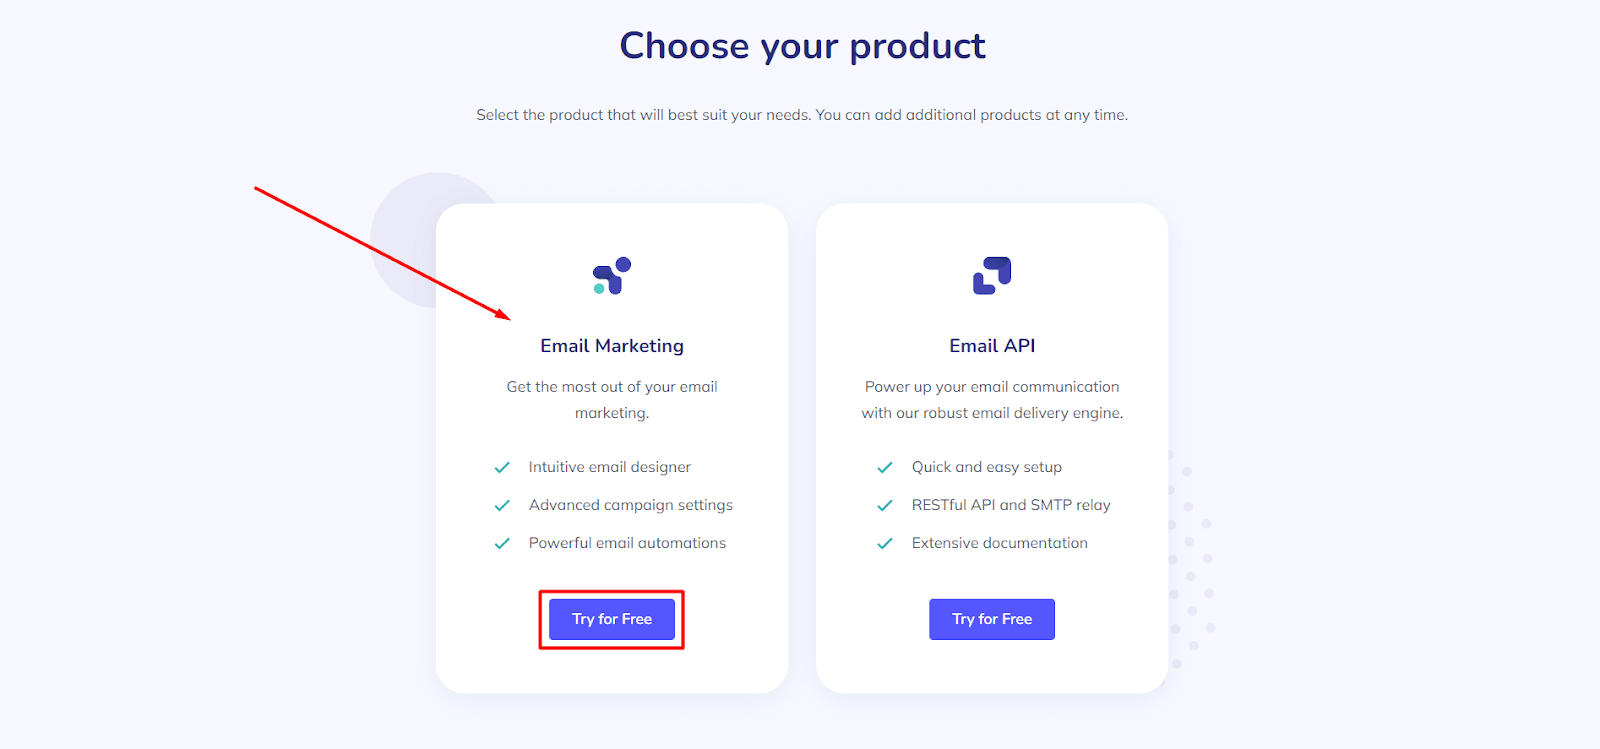
Elastic Email will ask you to sign up so either sign in with your Google account or fill up the required field and click Sign up to proceed.
After that, you need to join a quick survey and fill up some necessary information in the following category-
- Basic information
- Business information
- Experience
- Integration
Read the questions carefully and answer them according to your business and needs. After completing the survey a new tab will appear like this-
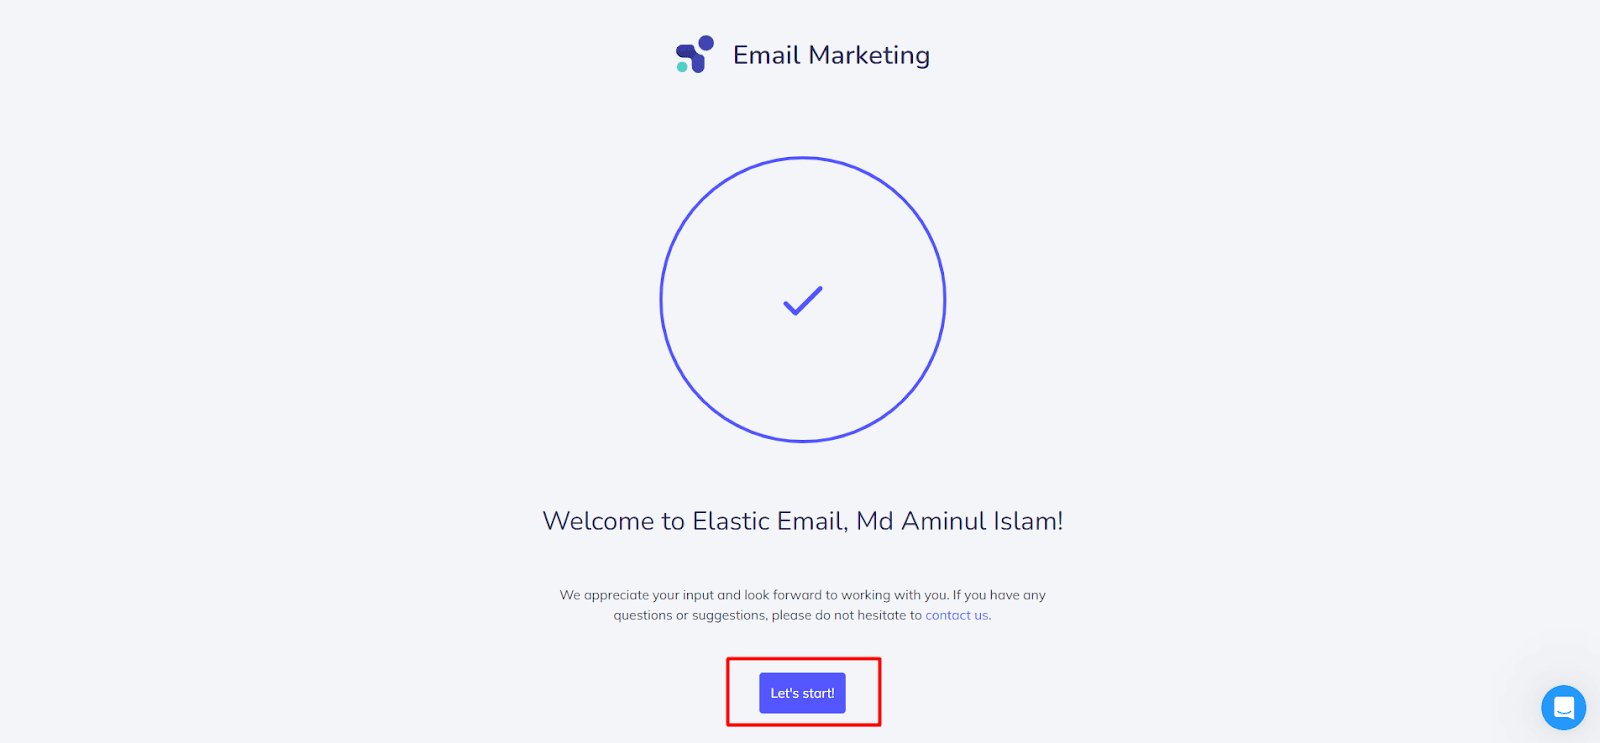
Click on Let’s Start to start your journey with Elastic Email.
Collect your API key
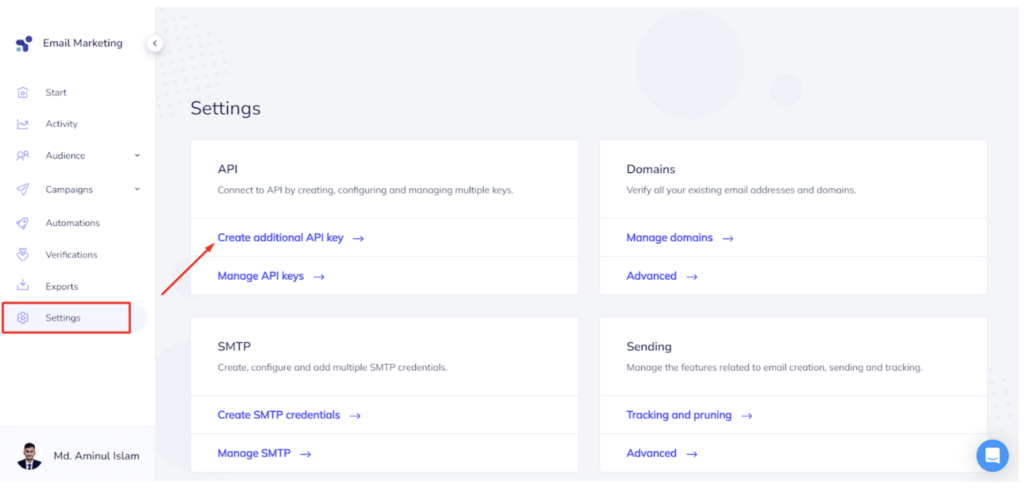
After successfully creating your account the next thing you need to do is collect your API key from Elastic Email.
So, log into your account and click on Settings.

Now click on Create additional API key to generate your API key.
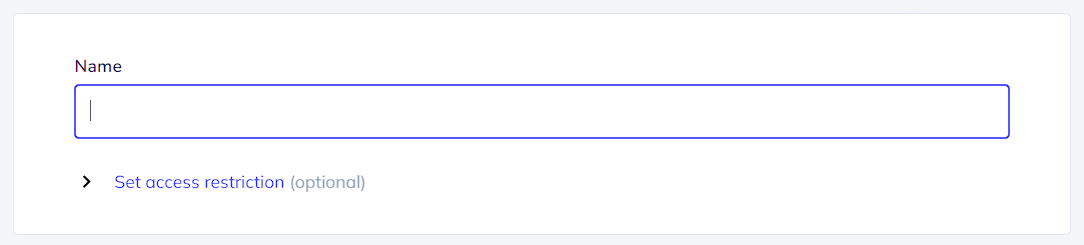
You’ll discover the API setting where you need to give a name. Generally, it’s the email address that you used to sign up.
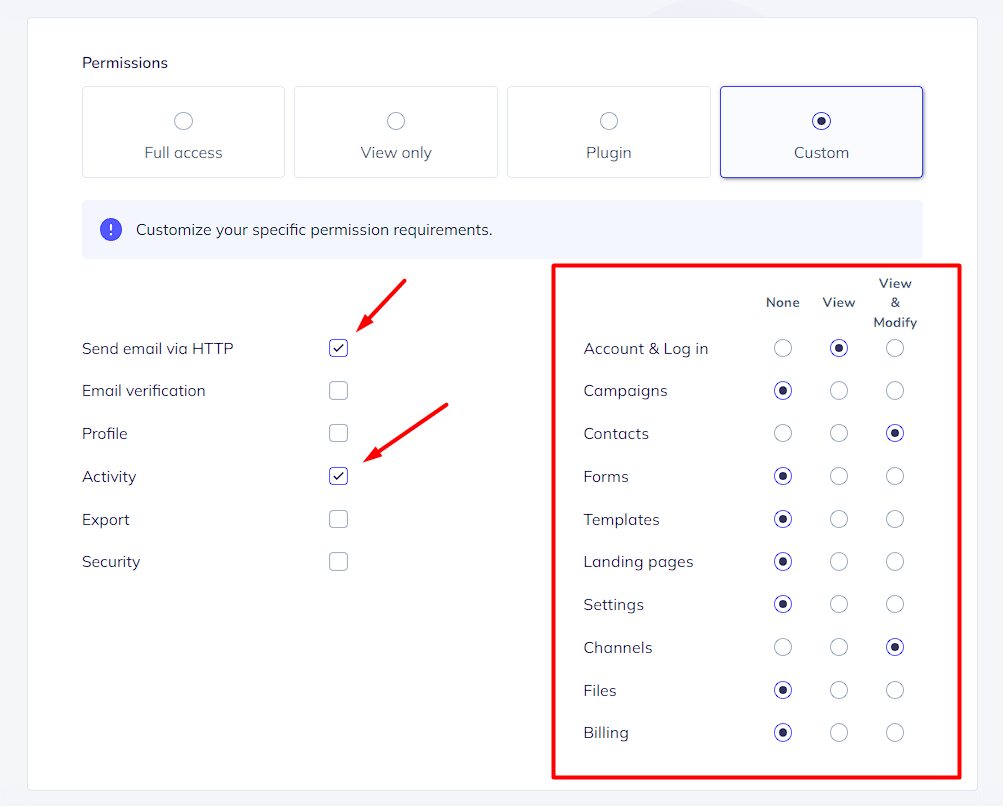
Next, configure the following setting under the Permissions section-
When you’re done with everything hit Create. A pop-up will appear with a message- API key created.
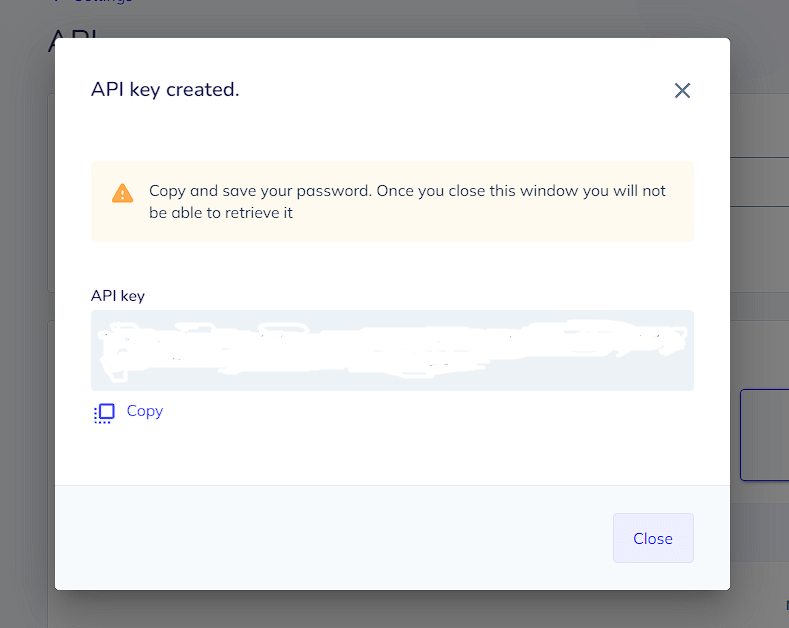
Copy the API key and cautiously save it to a reliable source for future use because you won’t get it next time.
Configure FluentSMTP for Elastic Email
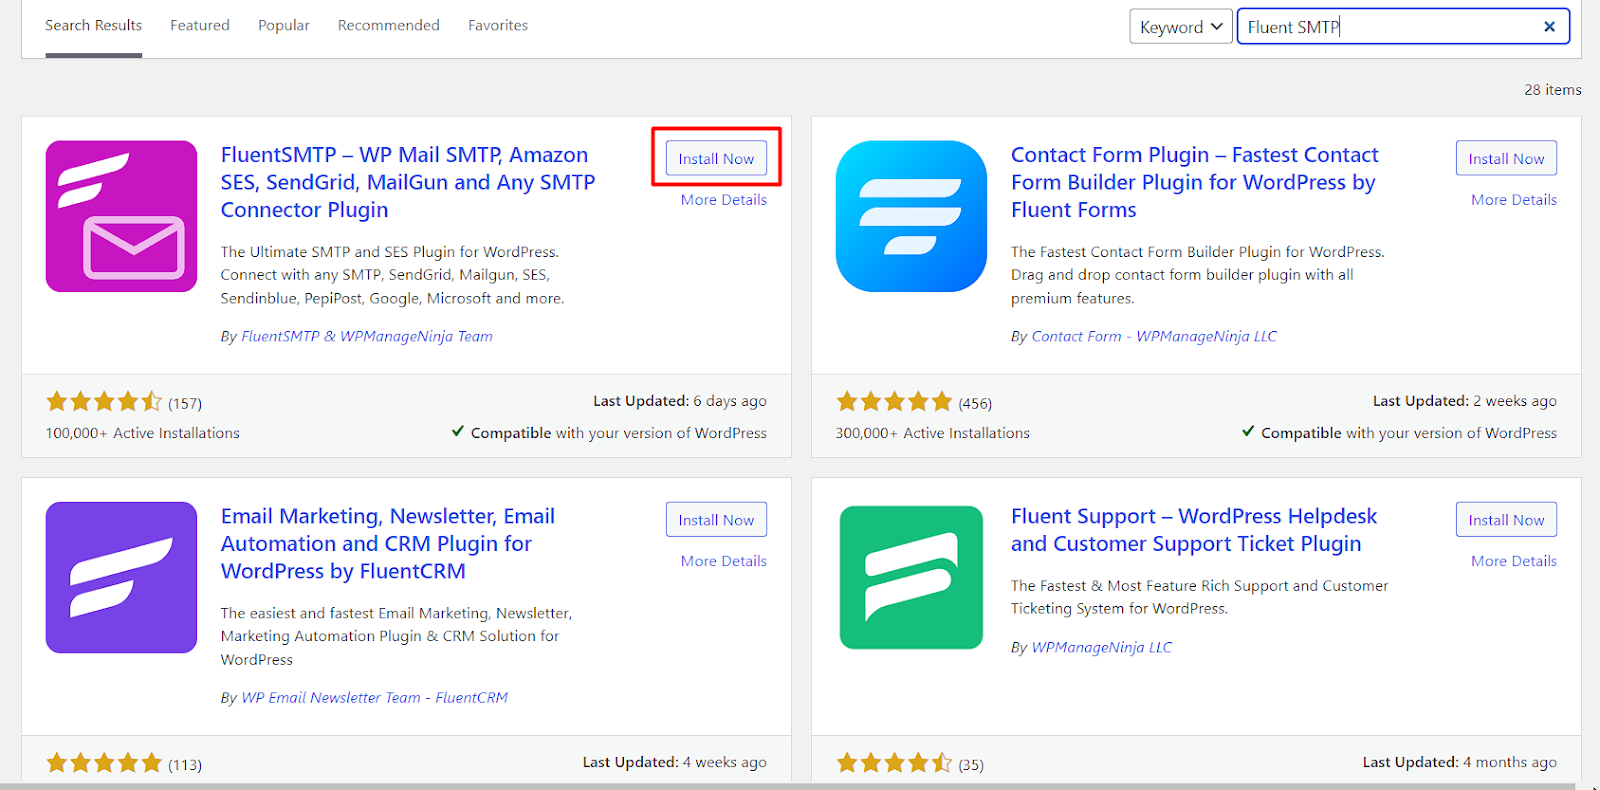
The next thing you need to do is to install the most powerful and reliable SMTP plugin for WordPress which is FluentSMTP. Click the button below to install it with a single click.
Or, go to your WordPress dashboard to install FluentSMTP. Then go to Plugins>Add New and search for FluentSMTP. Then click on Install Now and don’t forget to activate it.
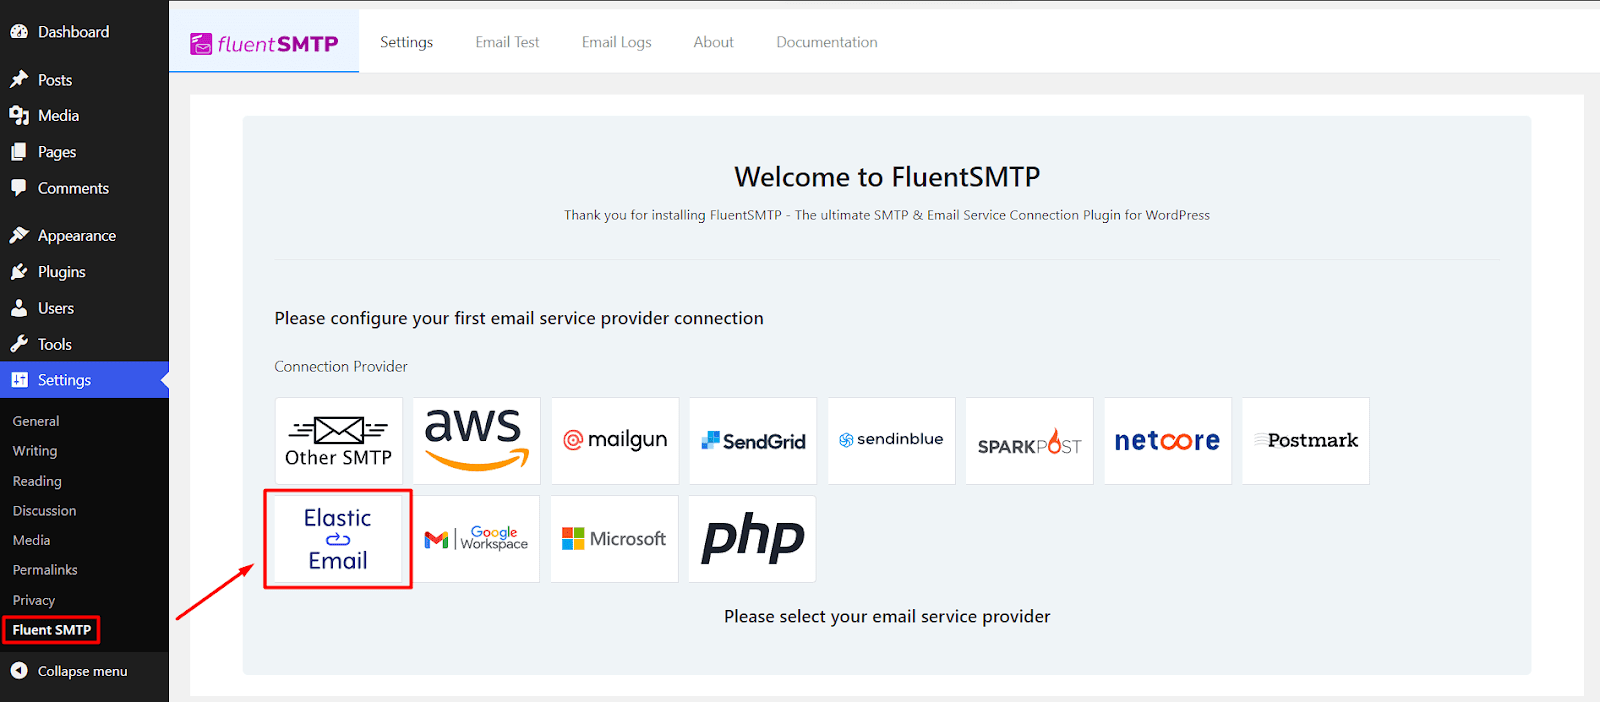
Once you’ve activated FluentSMTP the next goal is to configure it for Elastic Email. So, go to Settings>FluentSMTP and you’ll discover a list of email service providers and you’ll be asked to select your email service provider. Select Elastic Email from the list to activate it.
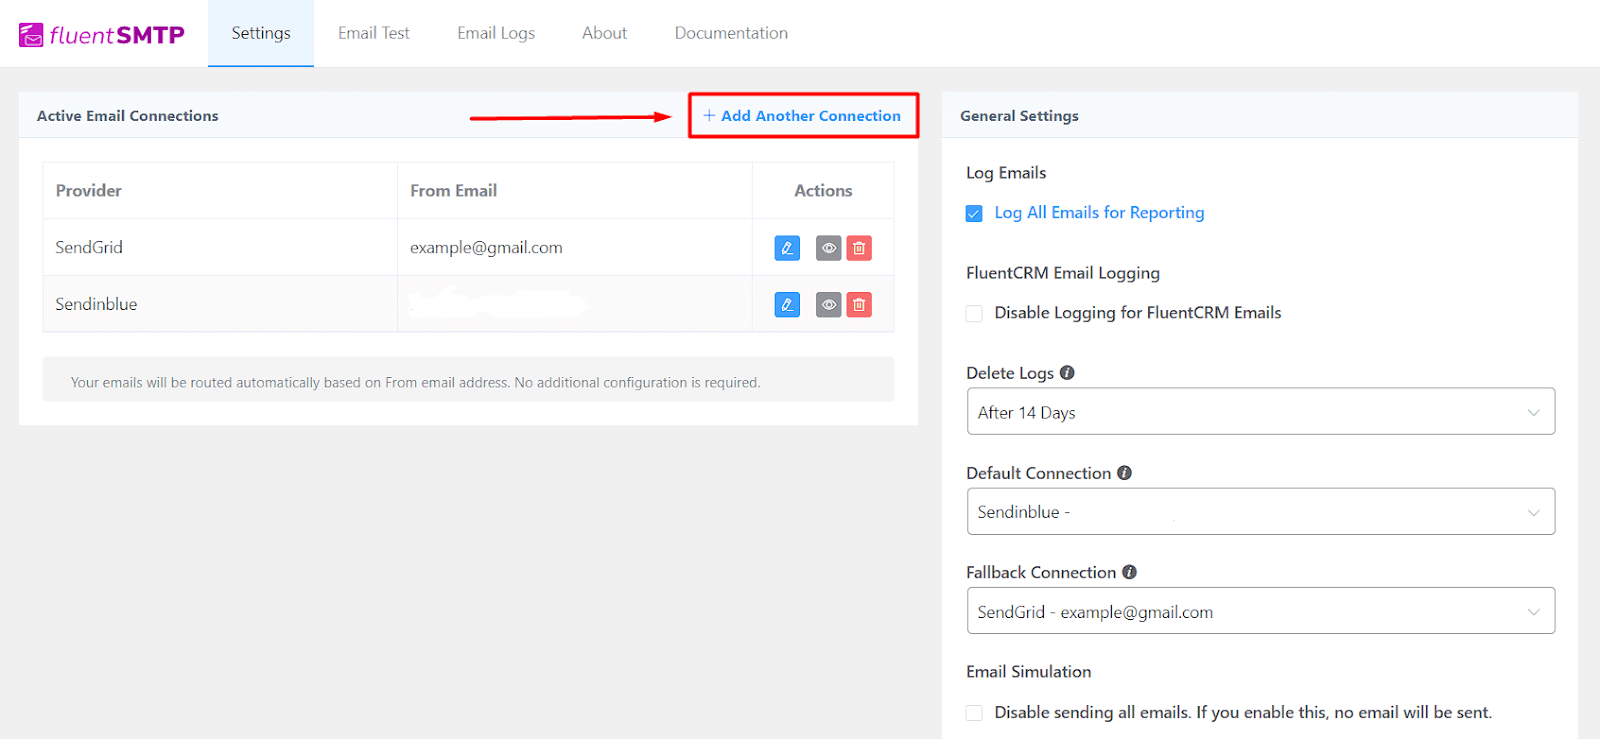
However, if you’ve multiple connections then go to FluentSMTP Settings click on Add Another Connection and select Elastic Email from available connections.
Now you need to configure your connection for email delivery. For this, you need to fill up the following fields-
- From Email: It’s the email that you used to sign up for Elastic Email. But if you want to use another email then make sure you’ve verified it on Elastic Email.
- From Name: You can give any name here. But if you’re sending business emails then we recommend using a real and professional name.
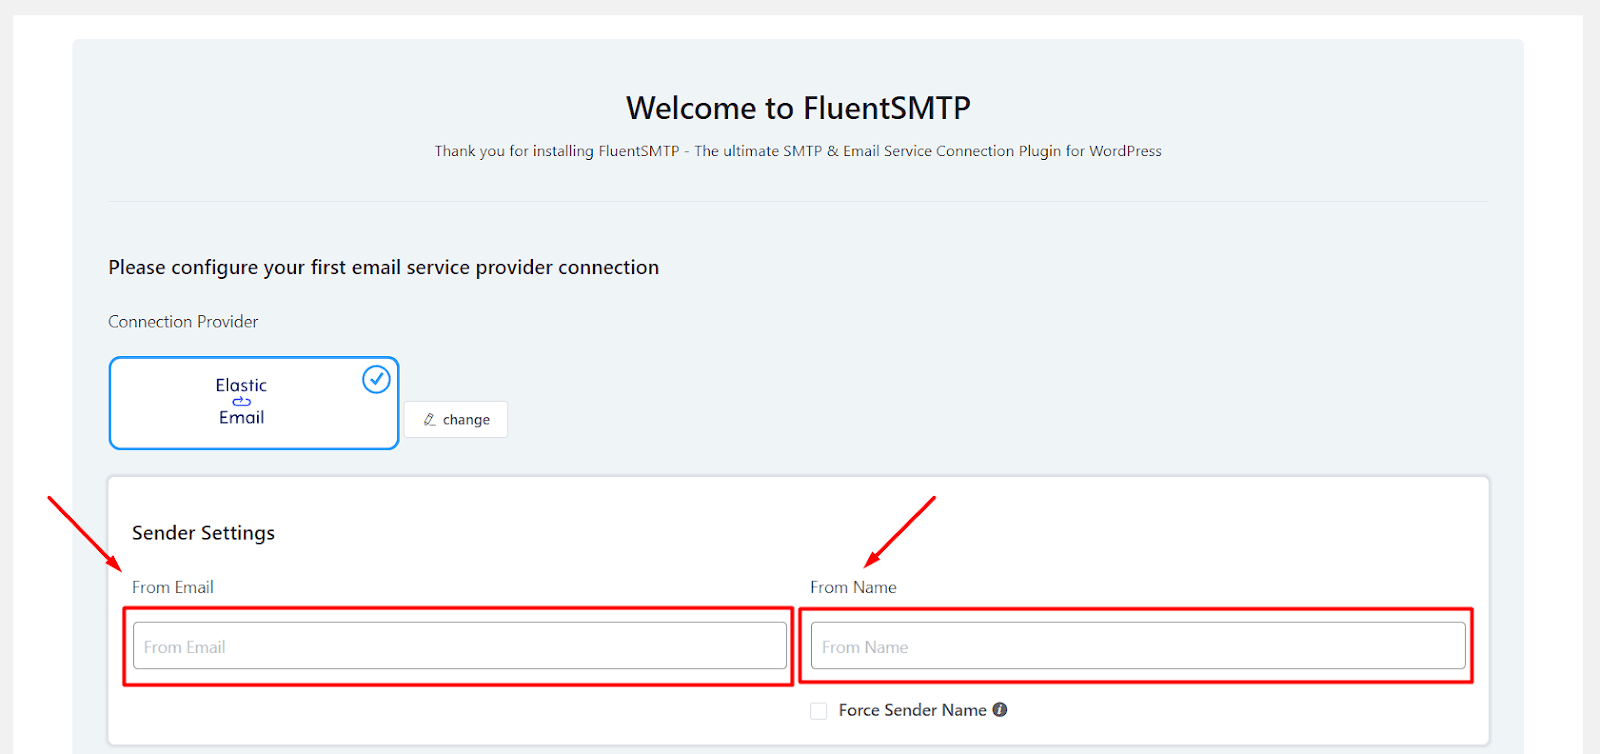
- API Key & Email type: Enter the API key which you received from Elastic Email and select your email type
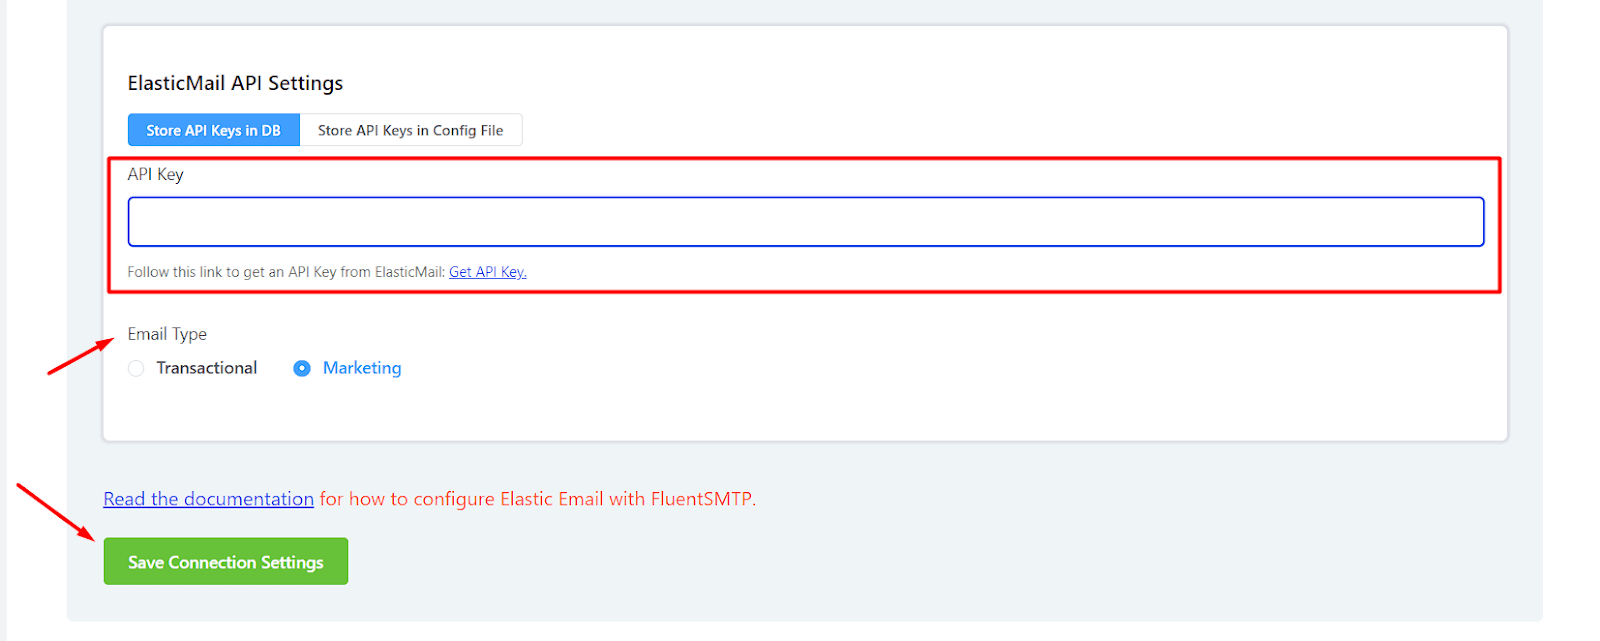
When you’re finished configuring hit Save Connection Settings and you’ve successfully added a new connection.
Send a test email
After integrating Elastic Email with FluentSMTP the last and final thing you need to do is to inspect the email deliverability. That means you need to send a test email to check if everything is working or not.
Go to FluentSMTP Dashboard and click on Email Test. Now you need to insert the email address that you used to create the Elastic Email account in the From section and the recipient’s email address in the Send To section.
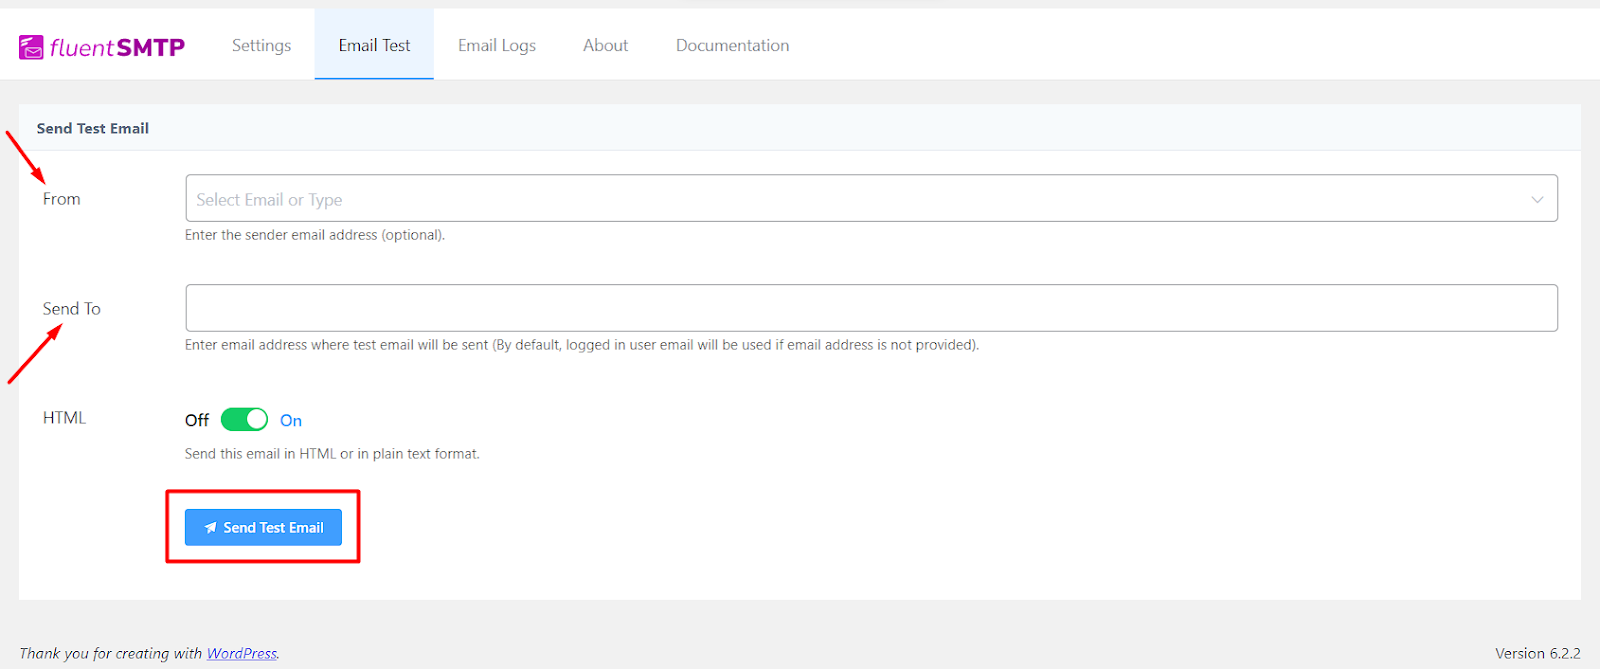
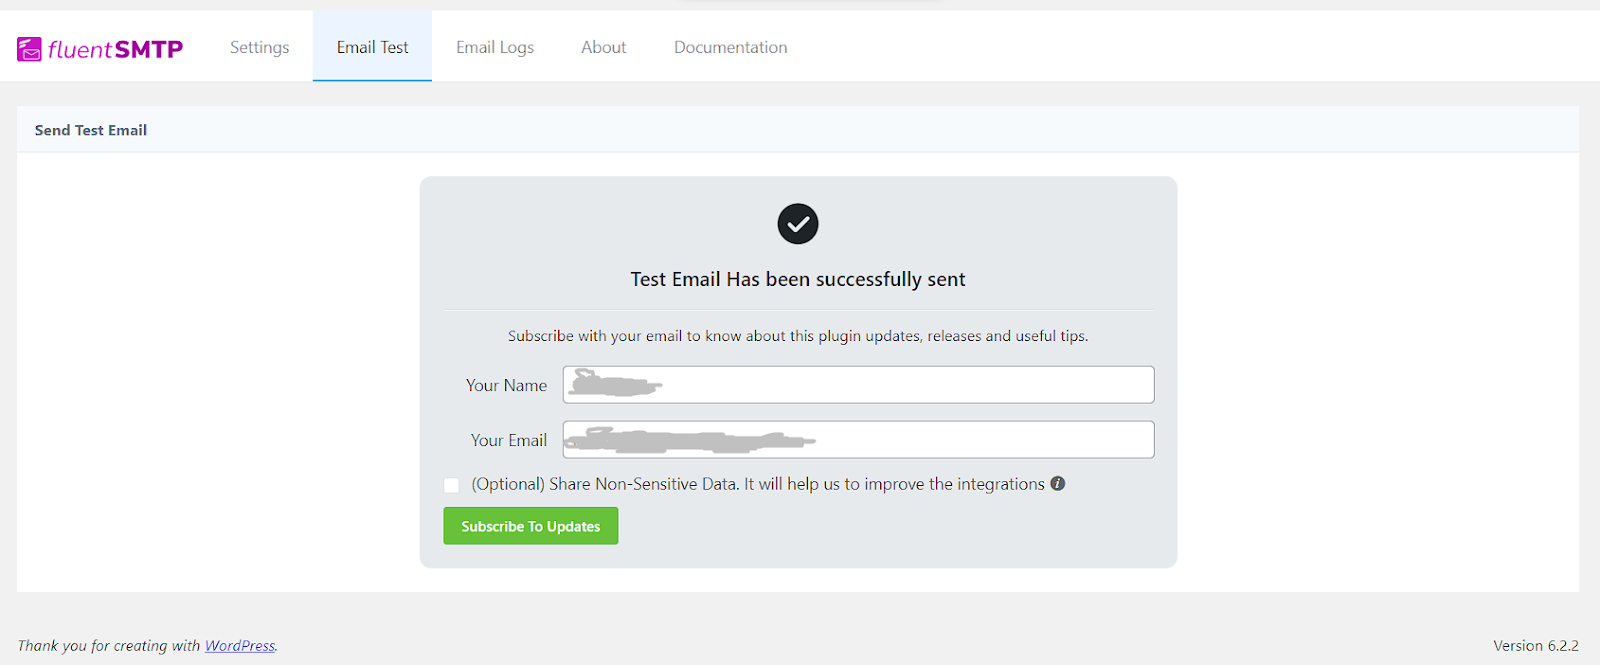
Once you’ve entered the required information hit Send Test Email. If you’ve followed the previous steps carefully then you’ll receive a result like this-
Moreover, the recipient will receive an email like this-
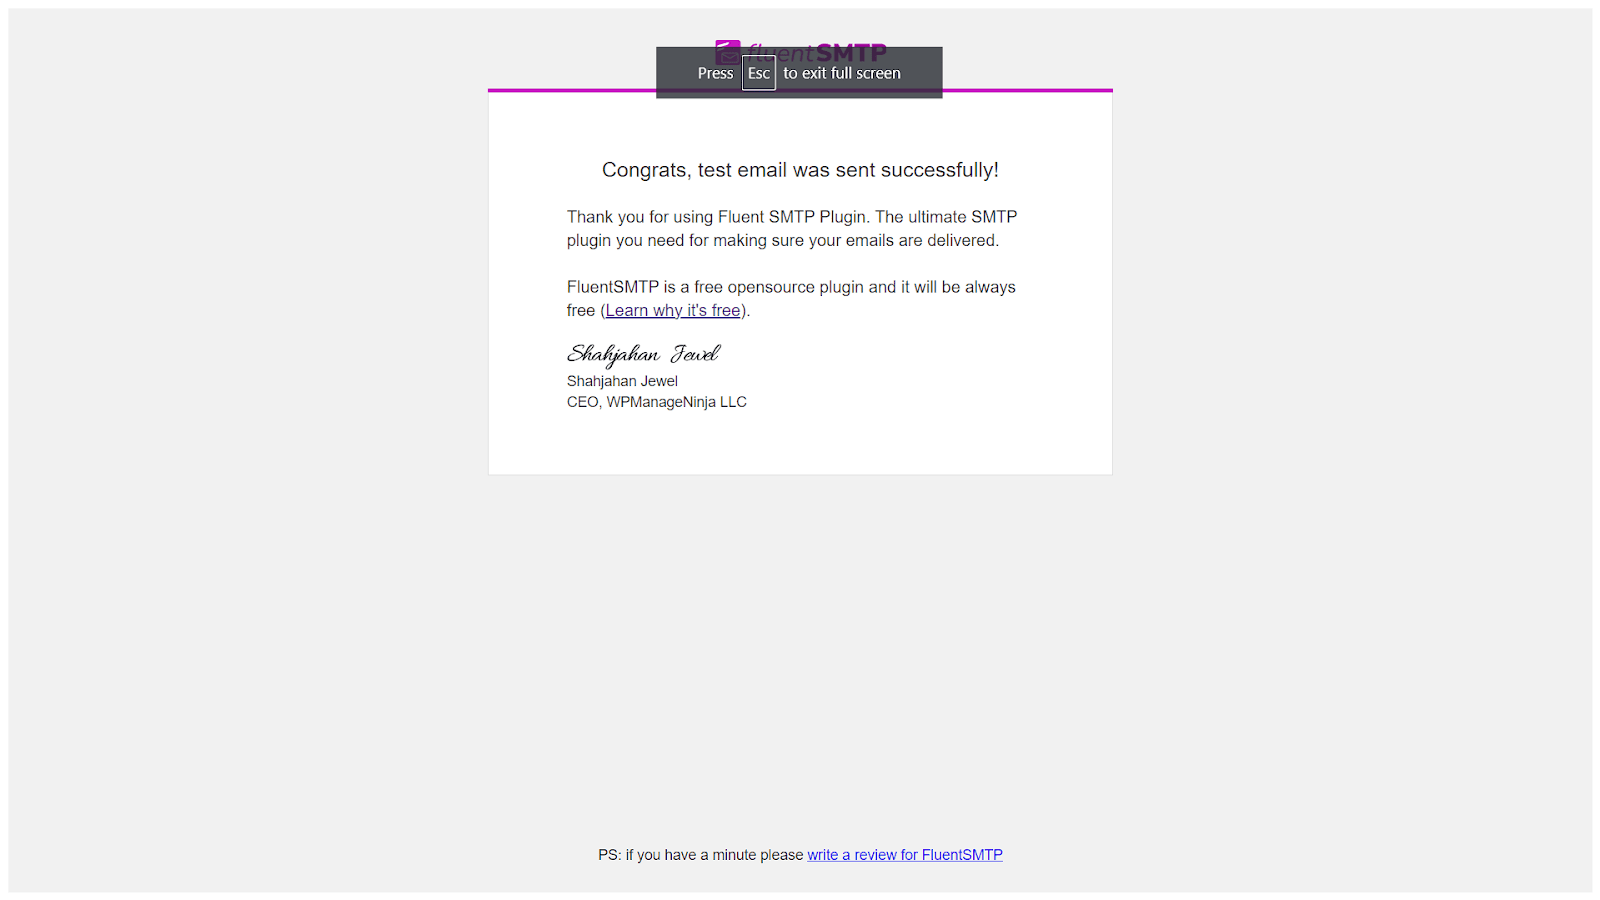
This indicates you’ve successfully configured Elastic Email with FluentSMTP, and from now on your emails will directly hit the recipient’s inbox from WordPress.
Elevate your email delivery with Elastic Email-FluentSMTP Combo!
Integrating Elastic Email with FluentSMTP will greatly improve the email deliverability and effectiveness of your WordPress site. By taking advantage of the robust features of Elastic Email you can improve the communication with users and customers.
We hope you’ll be able to configure Elastic Email for your WordPress site by following this quick guide. If you face any problem or difficulty while configuring, don’t be shy to comment and ask for help!

Aminul Islam
Hi! Nice to meet you. I’m a guy who loves to explore, learn, and share knowledge. I spend most of my time catching up with marketing tips & tricks. When I’m not busy with any of these, you’ll find me with a book, exploring the city, or playing my favorite games.
Table of Content
Subscribe To Get
WordPress Guides, Tips, and Tutorials


Leave a Reply