

Email Deliverability Checklist: 20 Steps Before Every Send

Even a great email campaign fails if it never reaches the inbox. You can spend hours on your subject line and design. But if the email lands in spam or gets rejected outright, none of that work matters.
Marketers often blame a drop in open rates on their content and spend weeks rewriting subject lines.
But the real cause is usually simpler: a failed authentication check or an old list that needs cleaning. An email deliverability checklist catches this in minutes.
This guide introduces an email deliverability checklist with 20 clear checks to run, so inbox placement stops being a guessing game.
What is Email Deliverability and Why Does it Need its Own Checklist?
Email deliverability is the ability of your emails to reach a subscriber’s inbox, rather than getting caught in spam filters or blocked completely. It is the single factor that decides whether anyone actually sees the email you send.
Deliverability depends on many small things working together:
- Your list quality
- Your authentication setup
- Your content and structure
- Your scheduled time
Everything plays its part. Miss just one of these, and your whole email can suffer, even if everything else is done right.
This is why you need an email deliverability checklist; it tells you exactly what to check, in what order, every single time.
Quick Overview: What to Check Before, During, and After You Send
Here is the full checklist at a glance.
Use this table as a quick reference, then read the detailed steps below for the how and why behind each one.
| Phase | Step | What to Check |
|---|---|---|
| Before | 1 | Remove hard bounces and invalid addresses |
| Before | 2 | Suppress long-unengaged subscribers |
| Before | 3 | Confirm consent for this segment |
| Before | 4 | Segment by recent engagement |
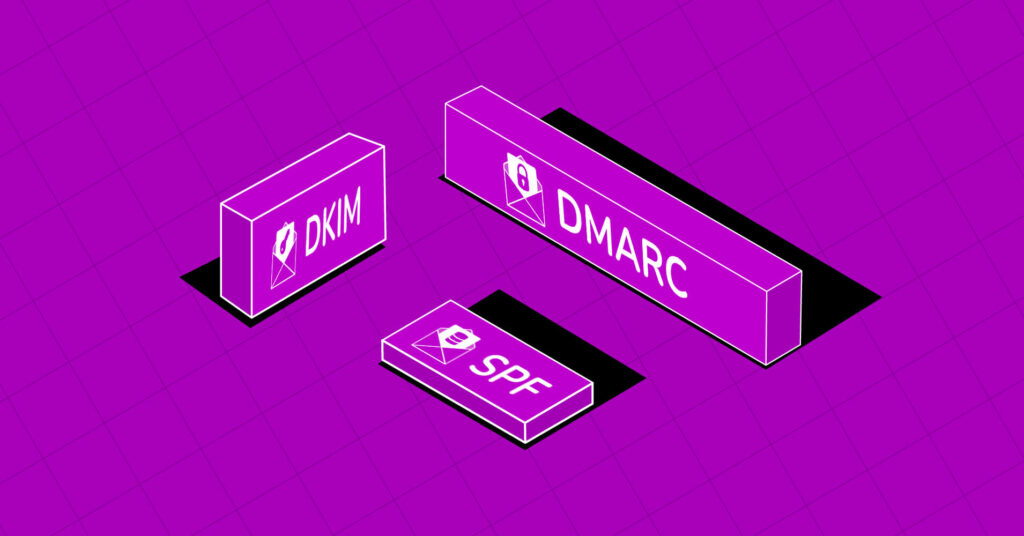
| Before | 5 | Re-verify your SPF record |
| Before | 6 | Confirm DKIM is signing correctly |
| Before | 7 | Check your DMARC enforcement level |
| Before | 8 | Confirm one-click unsubscribe is active |
| Before | 9 | Check your current spam complaint rate |
| Before | 10 | Scan for spam trigger language |
| Before | 11 | Check your text-to-image ratio |
| Before | 12 | Test every link |
| Before | 13 | Confirm sender name consistency |
| Before | 14 | Preview across devices and clients |
| Before | 15 | Validate personalization tags |
| During | 16 | Run an inbox placement test |
| During | 17 | Send a live test to major providers |
| During | 18 | Stress-test your subject line |
| During | 19 | Confirm timing and volume match your pattern |
| After | 20 | Monitor bounces, complaints, and blocklists |
Email Deliverability Checklist: 20 Things You Need to Check Every Time
An email deliverability checklist doesn’t mean you need to set up everything from the beginning every time you send an email marketing campaign.
A few things on any deliverability list are one-time setup work, not something you redo before each send.
This includes:
- Authenticating your domain
- Warming up a new IP
- Choosing an email service provider
If you have not done this yet, do it first. If any term below is unfamiliar to you, that is a sign to set up the basics first.
The 20 steps below are categorized in terms of relevance, and you need to check them before every single send.
List and Audience Checks
Deliverability problems usually start here, before you even open your email editor.
A single campaign sent to a bad list can undo months of good email sender reputation. That is why you should run these four checks on your email list first.
Step 1: Remove Hard Bounces and Invalid Addresses
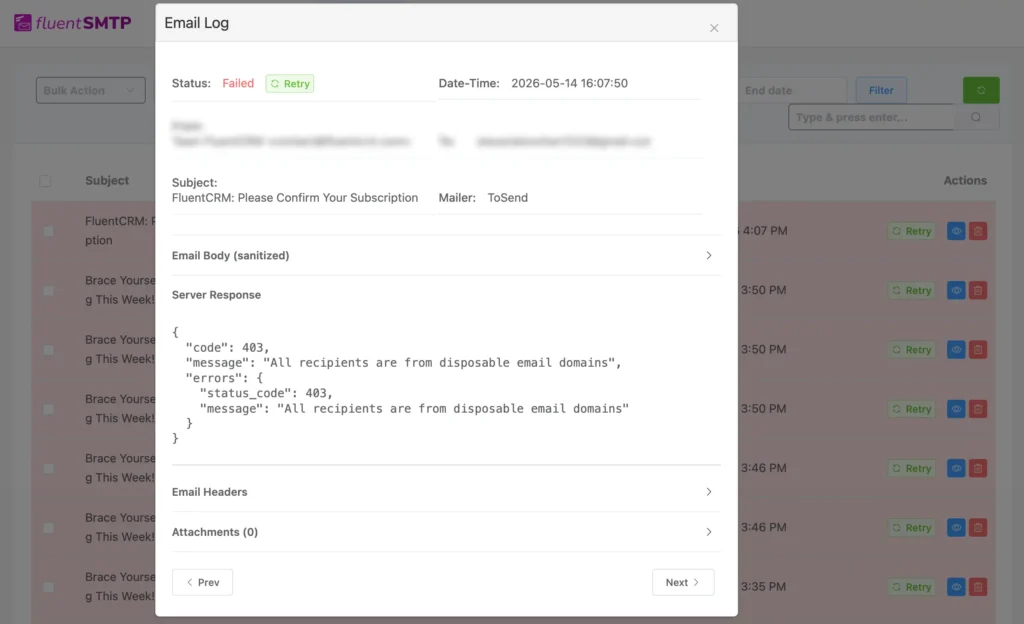
Scrub any address that has hard-bounced. Re-verify any segment you have not emailed in the last 30 days.
Use a dedicated verification tool for this, not just your ESP’s basic syntax check. Watch out for catch-all domains. They accept mail at the server level and pass basic checks, but they still carry more risk and can bounce later. Try to keep your overall bounce rate under 2%.
Step 2: Suppress Long-Unengaged Subscribers
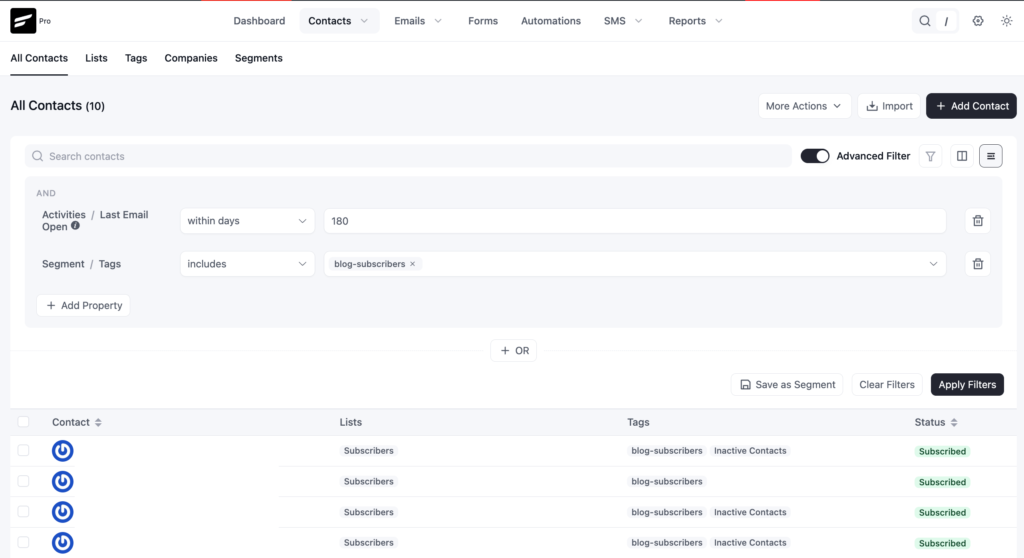
If someone has not opened, clicked, or visited your site in 90 to 180 days, move them to a re-engagement track or suppress them.
Judge this by clicks and replies, not just opens. Apple’s Mail Privacy Protection pre-loads images for many subscribers, so open rate alone is not reliable.
A short win-back sequence before full suppression often saves some of these contacts.
Step 3: Confirm Consent for This Segment
Before you send, confirm the list or segment opted in directly.
Do not use purchased, scraped, or very old contacts. A single batch of non-consented addresses can spike your complaint rate enough to hurt your whole domain’s reputation, not just that one send.
Step 4: Segment by Recent Engagement
Send your valued campaigns to subscribers who have opened or clicked in the last 30 to 90 days. Mailbox providers pay close attention to early engagement when deciding how to treat the rest of the send.
When you lead with your most engaged segment, it protects placement for everyone else on the list.
For large lists, sending the remaining segments over a few hours instead of all at once also gives providers a steadier signal to read.
Authentication and Sender Health
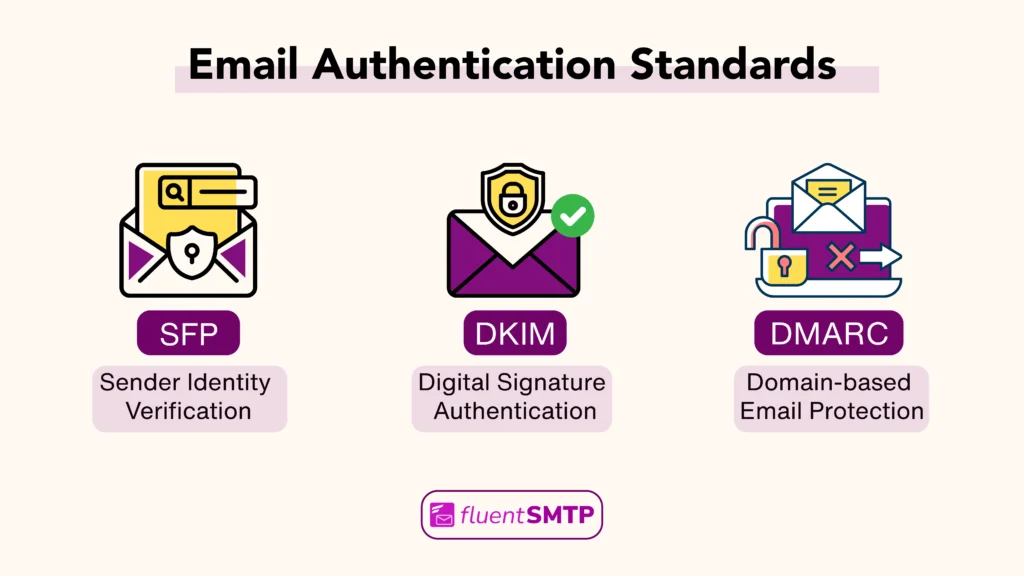
These protocols should already exist from your one-time setup. Before every send, you are confirming they still work, not installing them for the first time.
Skipping this because it was set up months ago is exactly how small problems go unnoticed.
Here’s what needs to be checked:
Step 5: Re-Verify Your SPF Record
Check that your SPF record lists every service that currently sends mail on your behalf. SPF records drift over time.
A new marketing tool, a new transactional sender, or a helpdesk integration can start sending mail without ever being added to the record. Nobody notices until deliverability drops.
Step 6: Confirm DKIM Is Signing Correctly
Make sure your DKIM is actively signing outgoing mail for the exact domain or subdomain you are sending from today, not just the one you set up originally.
Tools like MXToolbox or your ESP’s authentication dashboard will show a pass or fail for each record in seconds.
Step 7: Check Your DMARC Enforcement Level
Confirm your DMARC record is not just published, but set to the strength you actually want.
A p=none policy only monitors. A p=reject policy is quickly becoming the standard that mailbox providers expect from trustworthy senders.
A weak or missing enforcement level is increasingly seen as a red flag on its own. If you are still at p=none, move to p=quarantine at a low percentage first. Increase it gradually once you confirm real mail is not getting caught.
Step 8: Confirm One-Click Unsubscribe Is Active
If your domain sends 5,000 or more emails a day to Gmail or Yahoo addresses, one-click unsubscribe is mandatory. Also, unsubscribe requests must be honored within two days.
This bulk sender status is permanent. Once you cross the threshold, you count as a bulk sender even if your volume drops later.
That’s why, check this step even on smaller sends. Most email providers turn on one-click unsubscribe by default. You usually just need to turn it on once in your settings.
Step 9: Check Your Current Spam Complaint Rate
Log into Google Postmaster Tools and check your complaint rate before sending anything large.
Enforcement starts around 0.3%, but that is the ceiling, not a safe target.
Aim to stay under 0.1%. A low-volume list can hit the enforcement threshold with just a handful of complaints.
To give you context, a domain sending 10,000 emails a day only needs 30 spam reports to cross that 0.3% line.
Content and Rendering Checks
Once your list and authentication are solid, the email itself needs a pass.
Content-based filtering matters less than it used to, but it still matters most on borderline sends.
Step 10: Scan for Spam Trigger Language
Before hitting send, reread your subject line and body for excessive punctuation, ALL CAPS, and classic spam phrases like “free,” “act now,” or “100% guaranteed.”
These triggers spam filters faster, and when it gets combined with weak engagement or authentication, it can drop your overall sender score massively.
Step 11: Check Your Text-to-Image Ratio
An email that is one large image with almost no text looks riskier to spam filters. It also often fails to process in clients-end, so it gets blocked by default.
Keep a healthy amount of real text, and add alt text to every image so your message still makes sense if images do not load.
Step 12: Test Every Link
Click every link in the email, including the footer and unsubscribe links.
Avoid URL shorteners, since spammers often abuse them. Filters may block these links even when your own domain is clean.
Remember, checking links takes an extra minute. Finding a broken link after you have already sent it to thousands of people costs much more.
One bad link can send an otherwise good email straight to spam.
Read: Why WordPress Email Going to Spam?
Step 13: Confirm Sender Name Consistency
Check that your “From” name and address match what subscribers have seen before.
Sudden changes to your sending identity look suspicious to both filters and recipients. Inconsistency is one of the more overlooked ways senders quietly lose the trust they have built.
Step 14: Preview Across Devices and Clients
Preview the email on mobile, in dark mode, and across Gmail, Outlook, and Apple Mail at minimum. Rendering issues do not just look unprofessional. A broken layout lowers clicks, and low engagement is itself a negative signal to mailbox providers over time.
Step 15: Validate Personalization Tags
Send yourself a test and confirm every merge tag or smart code actually fills in.
A visible “Hi {{FirstName}}” does not just look careless. It signals sloppy list management, and recipients who notice it are more likely to disengage or complain.
Pre-Send Testing
Before the real send goes out, put the actual email through a dry run.
This is the last point where you can still catch a problem before your whole list sees it.
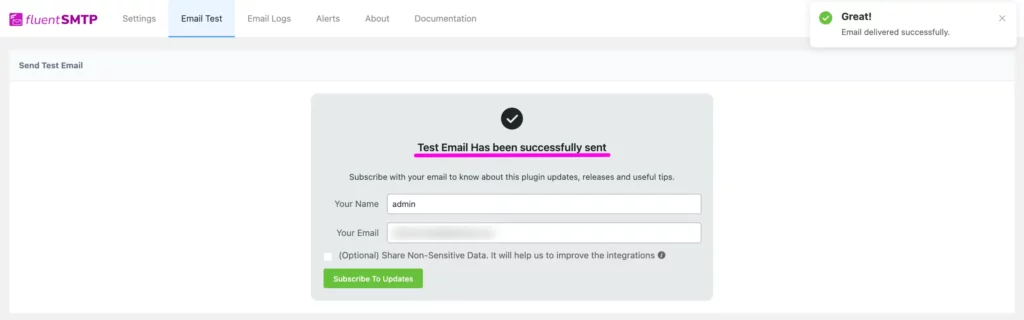
Step 16: Run an Inbox Placement Test
Use a spam testing tool like Mail Tester or your ESP’s built-in checker. See how this specific email scores before it reaches your full list.
This catches authentication, content, and formatting issues together, in the same combination your subscribers will actually see.
Run it on the final version of the email, not a draft. Last-minute copy or image changes are exactly what most often introduces a new problem.
Step 17: Send a Live Test to Major Providers
Beyond an automated test, send the actual email to real Gmail, Outlook, and Yahoo accounts you control.
Check which tab or folder it lands in. A live test shows you the actual placement decision for that provider today.
If you manage multiple sending domains or brands, repeat this for each one, since placement can vary even when the content is identical.
Step 18: Stress-Test Your Subject Line and Preview Text
Read your subject line and preview text as if you were a filter, not a fan.
- Does it overpromise?
- Does it look like every other promotional subject you have ever ignored?
Clear and honest almost always beats clever when inbox placement is on the line.
Timing and Volume
Consistency is its own reputation signal, separate from your email’s content or list quality.
Step 19: Confirm Timing and Volume Match Your Normal Pattern
Check that this send’s size and timing look like your usual sending behavior.
Here’s what might look like a red flag:
- A sudden jump in volume
- Sending at an unusual time of day
- A long gap since your last campaign
Email providers read consistency as part of your reputation, not just content quality.
It matters most right after a list import, a long gap between sends, or a sharp rise in campaign frequency, since each of these looks just like spam behavior from the provider’s side.
After You Hit Send
Deliverability work does not stop the moment you click send. The hours right after tell you whether everything above actually worked.
Step 20: Monitor Bounces, Complaints, and Blocklists
Your checklist does not end at send. Check your bounce rate, complaint rate, and blocklist status within 24 to 48 hours.
Note anything unusual before your next campaign. Set a recurring reminder for this instead of relying on memory.
Run Your Test Before Every Send
Maintaining a long email deliverability checklist of many steps sounds like a lot until you have done it two or three times.
Because most take seconds once you know where to look. Several, like your SPF or DMARC status, barely change from one send to the next.
The senders who consistently land in the inbox are not the ones with a perfect one-time setup. They are the ones who treat this email deliverability checklist as a habit, not a one-off audit.
Save it, run it before your next campaign, and it gets faster every time.
Moreover, deliverability is also not a problem you solve once and forget. Mailbox providers keep adjusting their rules, and your list and content keep changing too. Treat this checklist as a living reference. Revisit it whenever Gmail, Yahoo, or Microsoft update their requirements, and adjust your routine to match.
Tanzil Ebad Efti
Words are my favorite playground. As a Creative Writer at WPManageNinja, I don’t just produce content; I tell stories. By mixing fiction and metaphors with real-life examples, I turn my writing into a creative journey that’s easy for readers to digest and relate to.
Table of Content
Subscribe To Get
WordPress Guides, Tips, and Tutorials

Add your first comment to this post