

How to configure Postmark SMTP for Sending WordPress Emails


Are your WordPress emails constantly failing to hit the recipient’s inbox and ending up in the spam folder?
It’s probably because you’re not sending emails using SMTP.
WordPress does have a native mailer that can send a few emails but those are sent in an older mailing protocol called PHP. Since most hosting and email clients don’t support PHP email authentication, your emails get treated as spam by the receiving mail server.
A reliable SMTP server like Postmark can do the job for you. It can authenticate your emails the right way so that your emails always land in your recipient’s inbox!
In order to use an SMTP server in your WordPress site, you need a reliable WordPress SMTP plugin. And in this article, we’ll show you how to integrate Postmark with FluentSMTP, a free and robust SMTP plugin made for WordPress.
What is Postmark?
Postmark is a popular transactional email service that provides reliable email deliverability. It is a great option for small to medium businesses for its affordability and reliability.
Postmark lets you send 100 emails per month without any cost. Signing up for the free trial doesn’t require a credit card either. It is easy to integrate with WordPress and can be used as your site’s default mailer.
Postmark provides a user-friendly interface and comprehensive analytics to help you track and manage your emails. You can easily connect Postmark with your WordPress site via an SMTP plugin like FluentSMTP by using the API key.
Postmark requires your work email aka your domain email to sign up. By signing you up with your domain email, Postmark can verify your domain and ensure maximum email deliverability.
How to set up Postmark SMTP on WordPress
As stated earlier, you need to integrate Postmark SMTP with a WordPress SMTP plugin if you want to override WordPress’ default PHP mailer, aka, wp_mail() function, and send your emails via SMTP.
A reliable SMTP plugin like FluentSMTP can set up SMTP services like Postmark on your WordPress site. FluentSMTP can reconfigure WordPress’ wp_mail() function and send emails using SMTP instead of PHP mail.
Now that you know how FluentSMTP works in harmony with Postmark to ensure your email’s deliverability, let’s look at how we can set up Postmark with FluentSMTP.
Create your Postmark account
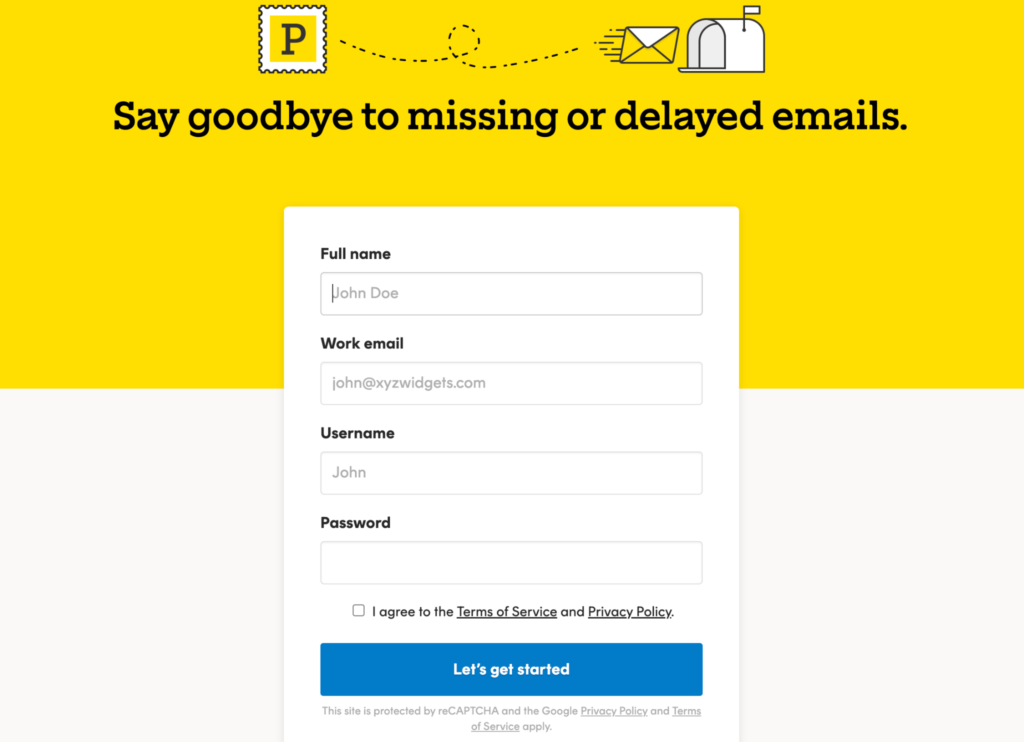
If you’ve decided to use Postmark as your SMTP mailer, go ahead and head to the signup page. Choose your optimal plan and proceed to the next section.
Then enter your full name, work email which is your domain email, and other credentials. Once you’ve entered those, carefully read their terms and privacy policy and tick the I agree box if you do.
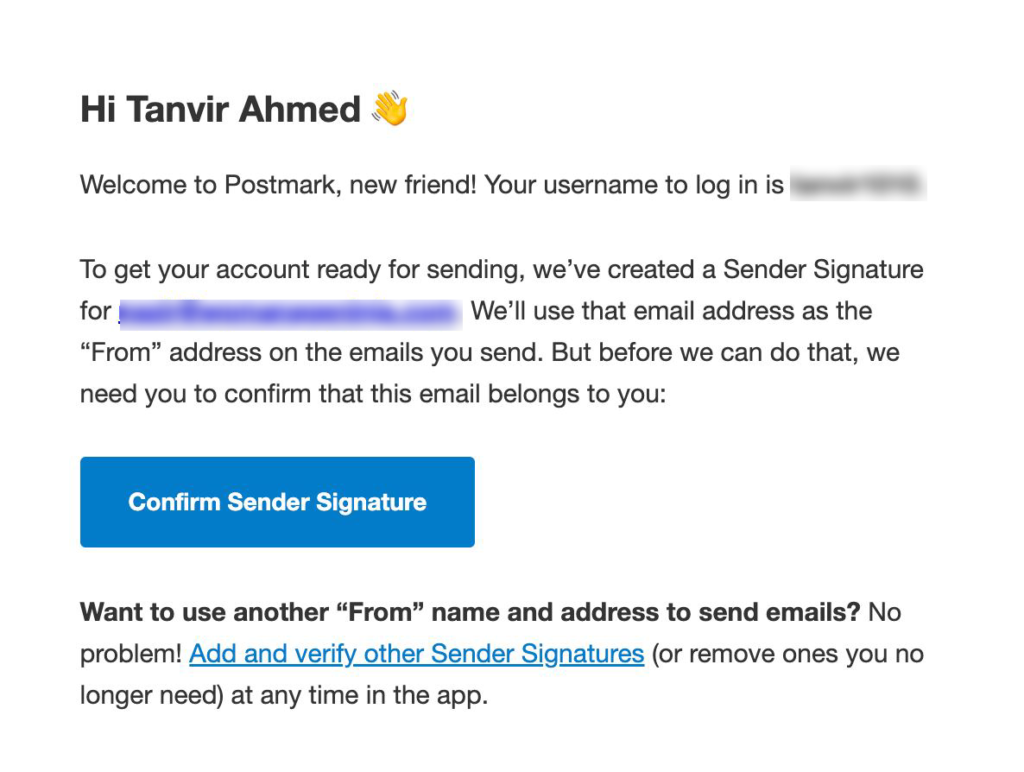
After you sign up, a verification email will be sent to you. Open it and click Confirm Sender Signature.
Now, login and head to Postmark’s account dashboard, and click on Request approval.

This will open an elaborate information box you need to fill out in order to get your Postmark account approved.
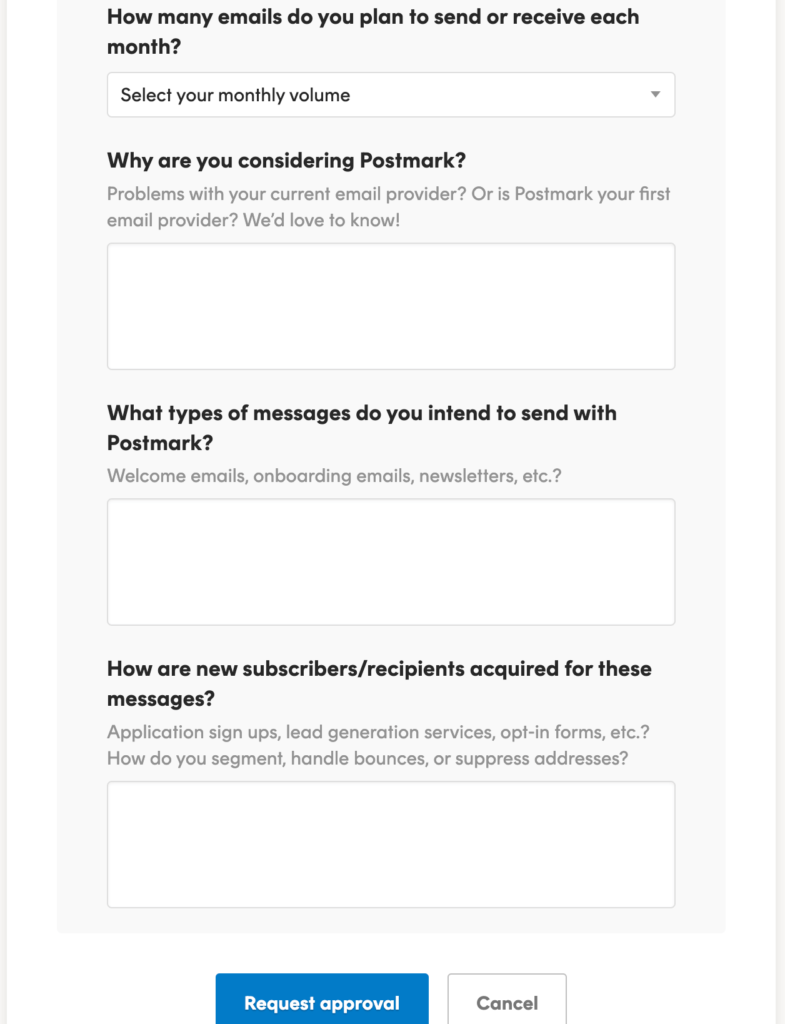
It typically takes 1 business day to review and approve your account. You can move on to the next configuration steps while still waiting for the approval.
Add and verify your domain in Postmark
In order to start the domain verification process, click on Sender Signatures in your Postmark account dashboard, and the work email you previously registered your Postmark account with will appear. You can add additional domains and signatures from here as well.
For now, we’ll proceed with the one we registered with.

Firstly, you need to verify your domain. To do that, click on Add a DKIM DNS record. Copy the DNS records and add these settings to your web host. After adding the DNS records to your web host, return to Postmark’s domain DNS verification page and click on the Verify buttons next to each record.
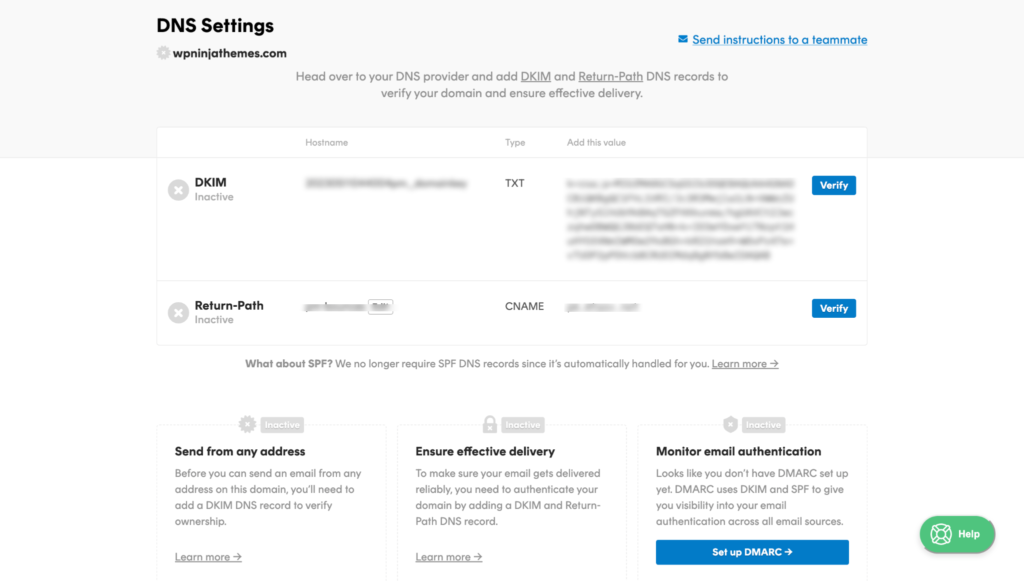
Also read: What are DMARC, SPF, and DKIM?
Also from here, you can add a sender signature which will enable you to send emails from a single email.
First, let’s see how to add a new sender email. Click on the Add Sender Signature Settings and press the Add Signature button to proceed. This’ll take you to this information box-
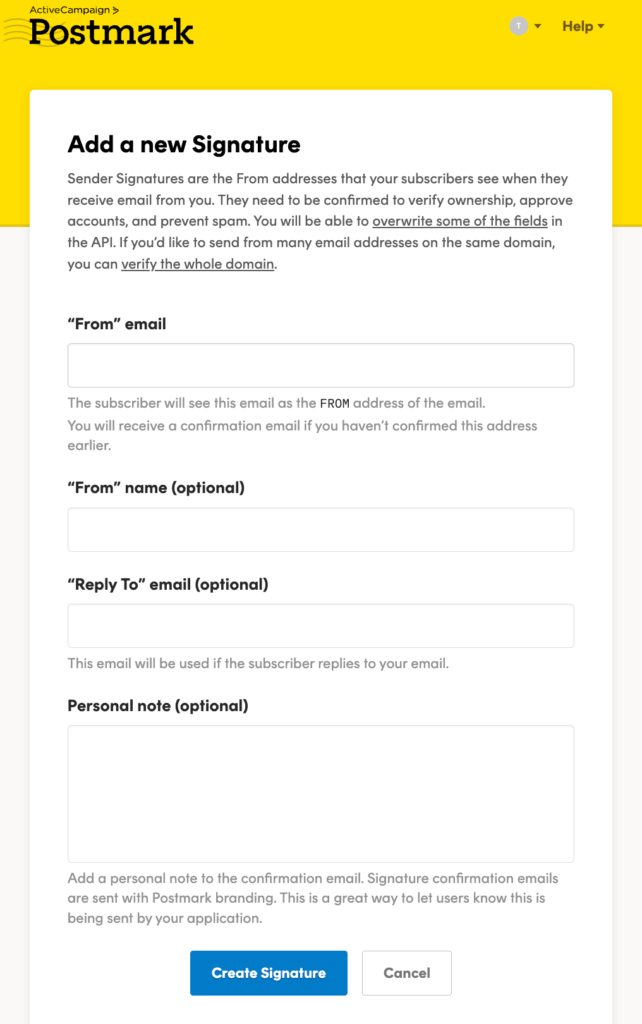
Fill out the information and click Create Signature, now a new sender email is created from which you can send your emails.
Get the API token from Postmark
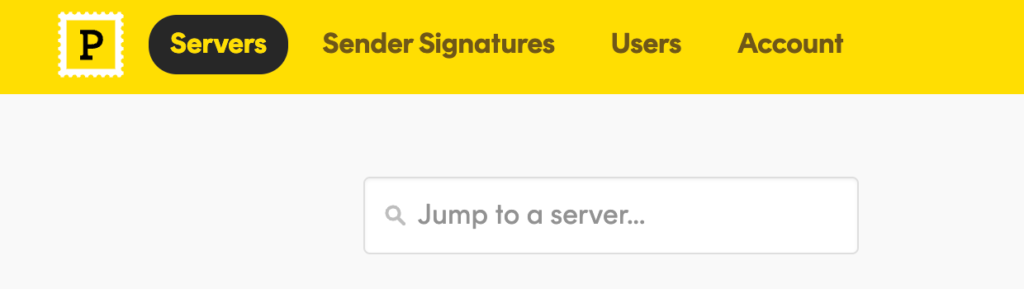
To connect your Postmark account to FluentSMTP, you need to get an API Key. Go to the Servers tab in your Postmark account dashboard.
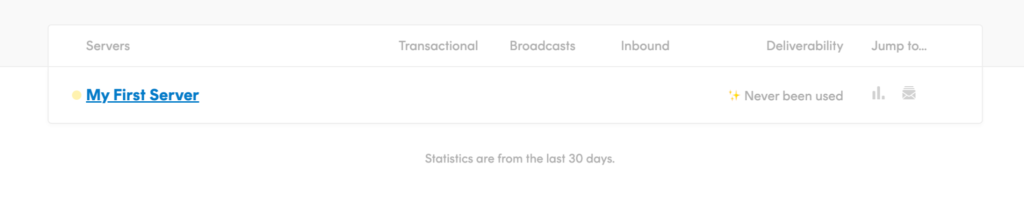
The next window will take you to the default server which is named My First Server by default, click there.
Next, go to the API Tokens tab and copy the API token. You’ll need it to integrate Postmark with FluentSMTP.

Install and activate FluentSMTP
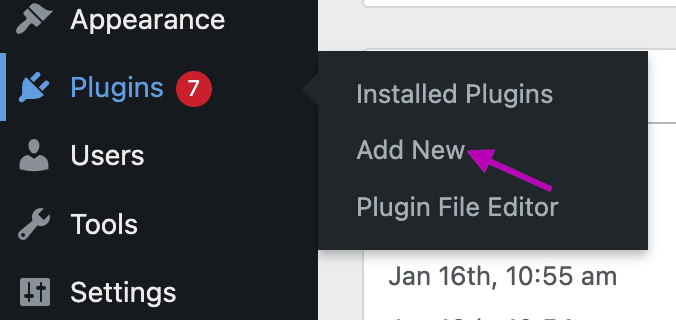
After setting up your Postmark account, let’s jump to the next phase where we’ll set up FluentSMTP. To do that, head to the Plugins section in your WordPress dashboard and click Add New.
This will open the WordPress plugin directory. Type FluentSMTP in the search bar, and click Install Now.
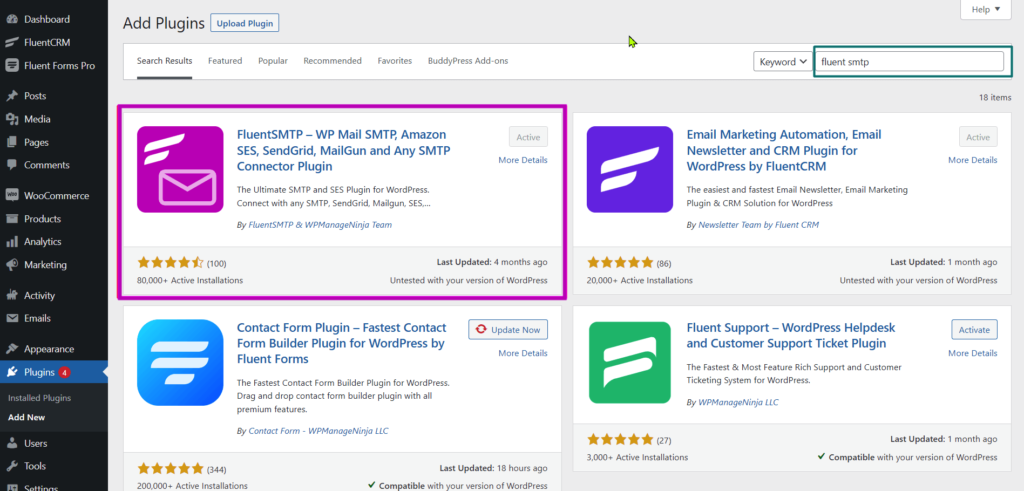
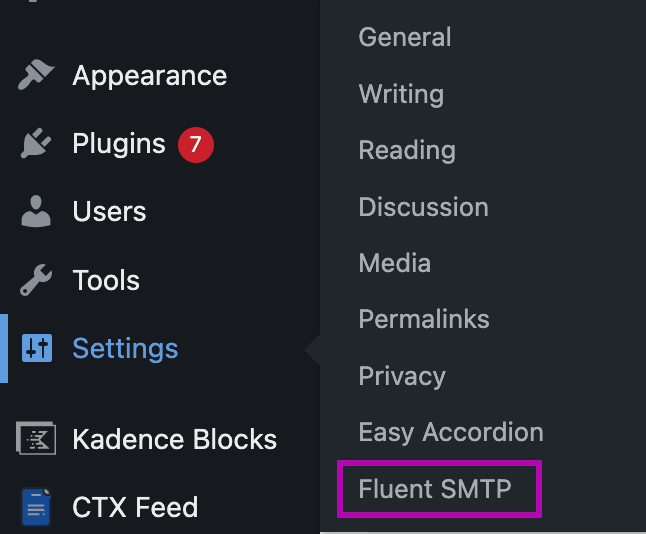
Once installed, activate it from the same window by clicking Activate. FluentSMTP is already installed and activated in the shown image. You will find FluentSMTP in the Settings menu in the WordPress dashboard from where you can access the plugin.
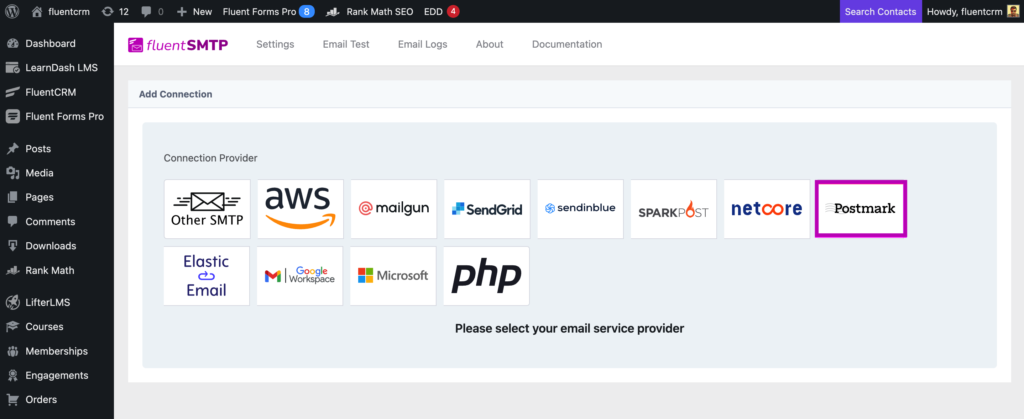
Next, we’ll integrate Postmark with FluentSMTP. To do that, go to the FluentSMTP settings by simply clicking on the FluentSMTP plugin. Click Add Another Connection.

This’ll take you to the Add Connection window from where you can choose your connection provider. Select Postmark from the list of available connection providers.
After selecting Postmark as your mailer, you’ll be required to input a From Email and From Name. The From Email is the email address that will be used to send your emails and the From Name is which will be the sender name shown in your emails.
Also, paste the API token you have copied before. Postmark allows you to specify the type of emails you’re sending. So, in the Message Stream field, input the type of message stream you want to create.
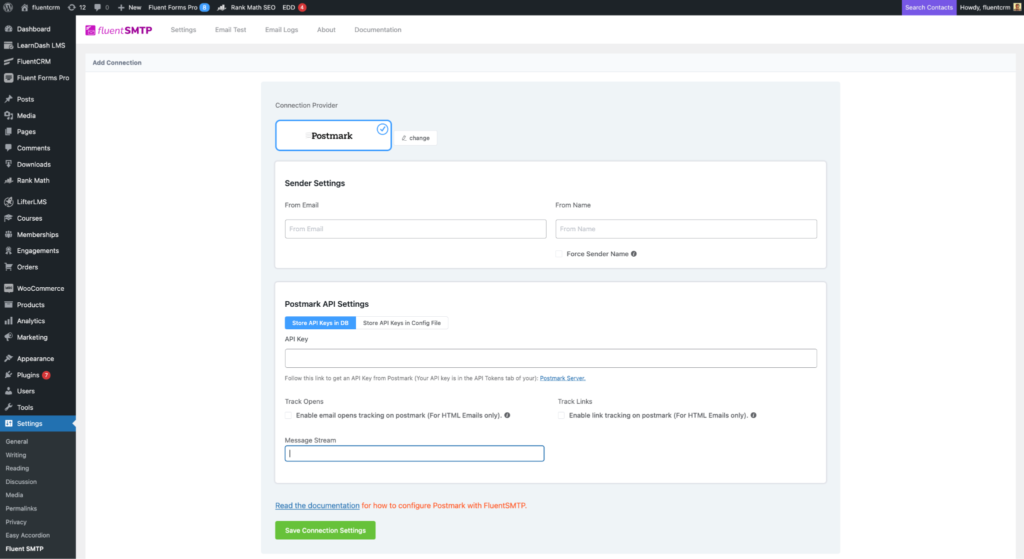
After filling out all the information click Save Connection Settings. And with that, you’ve finished integrating Postmark and FluentSMTP!
Test email deliverability
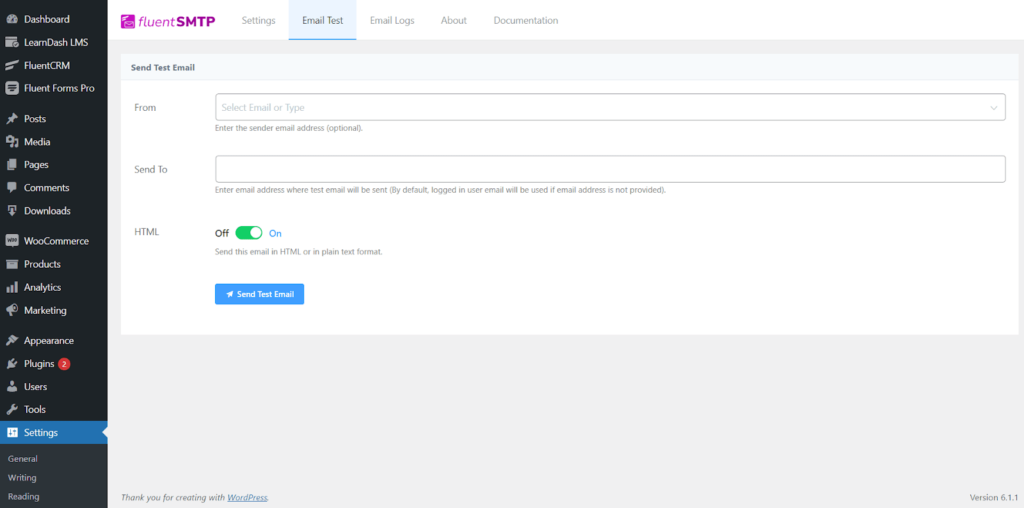
Now that you’ve finished setting up Postmark to work seamlessly with FluentSMTP, the first thing you need to do is send a test email. To do that, head to the Email Test in the FluentSMTP dashboard and enter a From Email and a Send To email, and hit the Send Test Email button.
If you get a success message, congratulations, your Postmark SMTP mailer is working fine!
Start sending better WordPress emails with Postmark SMTP
Sending and ensuring your email deliverability has never been easier than it is now with FluentSMTP and Postmark. Now that you know how to integrate these two, you got your email deliverability covered.
Our goal was to make this tedious process as easy to follow as we can. We hope this blog helps you send better emails from your WordPress site. Let us know in the comments below if you need any additional help setting up Postmark with FluentSMTP!
Tanvir Ahmed
Table of Content
Subscribe To Get
WordPress Guides, Tips, and Tutorials


Leave a Reply